As covered in my last blog post about How to Measure Yourself and Choose the Correct Pattern Size, we know that many of us are not a standard size and that our bust, waist and hip measurements can often fall under different pattern sizes. When this happens, how do we decide which size to cut out? If we cut out the biggest size, the garment will be huge in other areas and this can be so disheartening, especially when you have spent time and money creating your dream garment.
Before I go any further I just want to say that it is OK to not be a ‘standard’ size! Why would we all want to be the same anyway? And there is a solution to sewing garments that fit better and the extra bonus is that it is an easy process too. Then, when you know what to do, you will automatically find yourself easily making the necessary adjustments to future projects.
At this stage in my workshops I always point out that the process of pattern preparation can feel tedious but it is the foundation of your sewing project and it is well worth taking your time with it. After all, would you paint your home without doing the necessary wall preparation first?
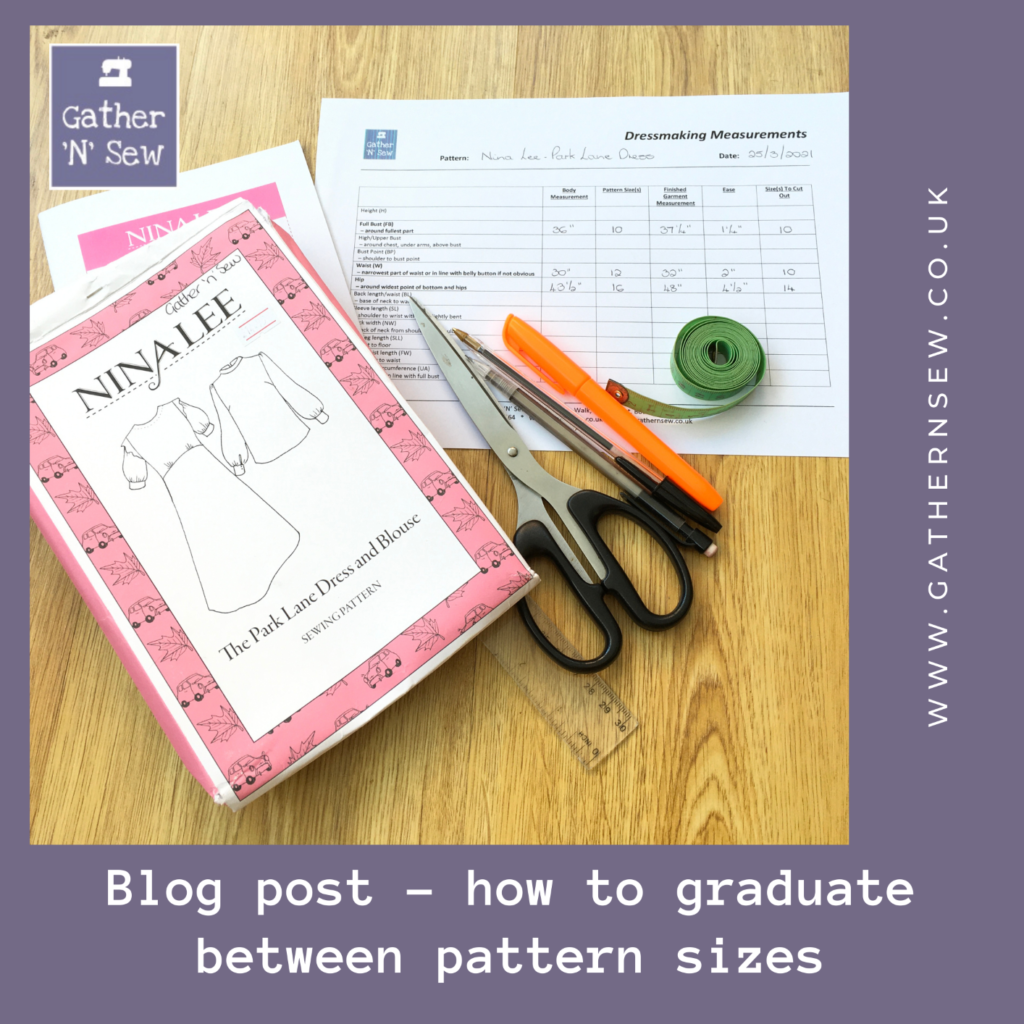
To make the pattern alterations the only tools you will need are a paper pattern, tape measure, ruler, pencil, highlighter/marker pen, paper scissors, paper and your body measurements (download our free and helpful printable table to record your measurements).
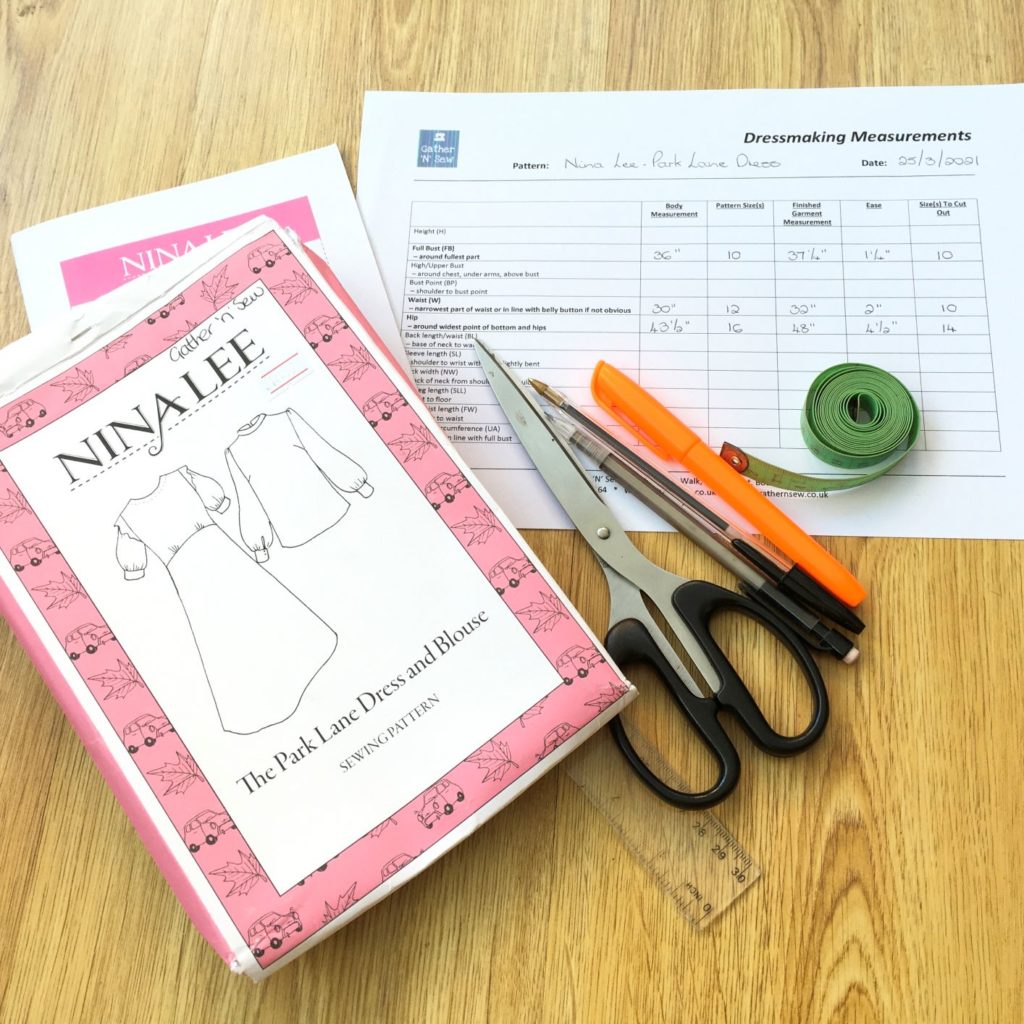
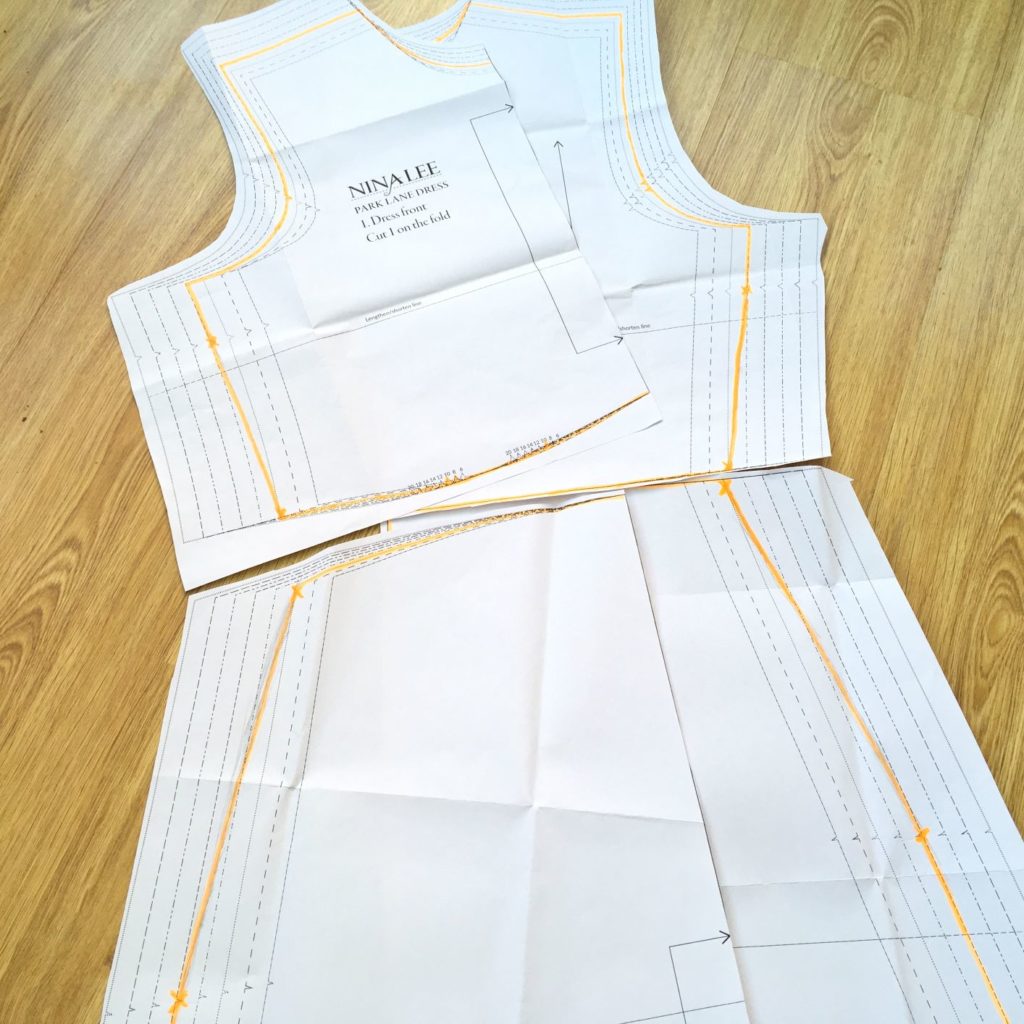
For the purpose of this post I have used the lovely Park Lane dress pattern from Nina Lee and the first thing I do is to roughly cut out the paper pattern pieces making sure that I keep all the pattern sizes intact. If the pieces are heavily creased, they can be gently pressed flat with a cool iron.
Modern sewing patterns are fantastic, as once upon a time you had to purchase a separate pattern for each size! But now each pattern contains a wide range of sizes and this makes is so much easier to grade between different sizes.
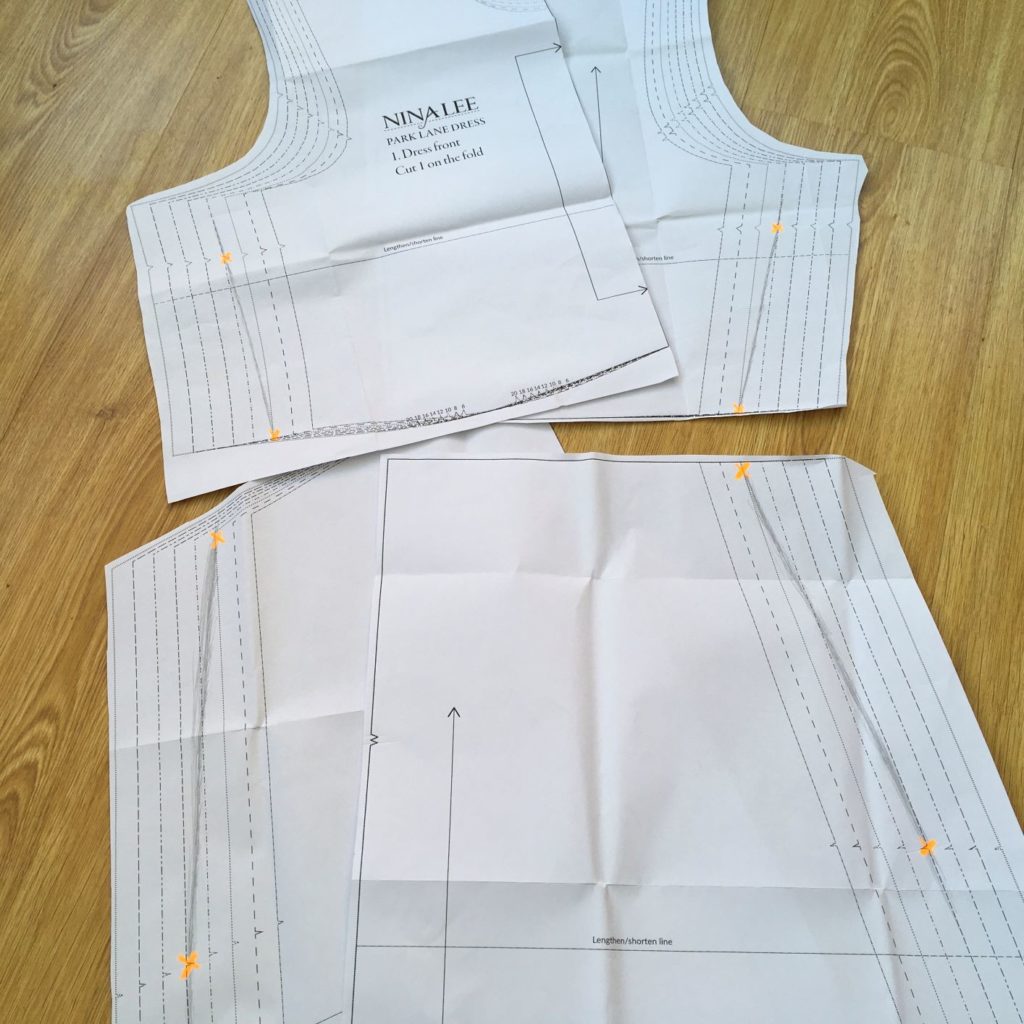
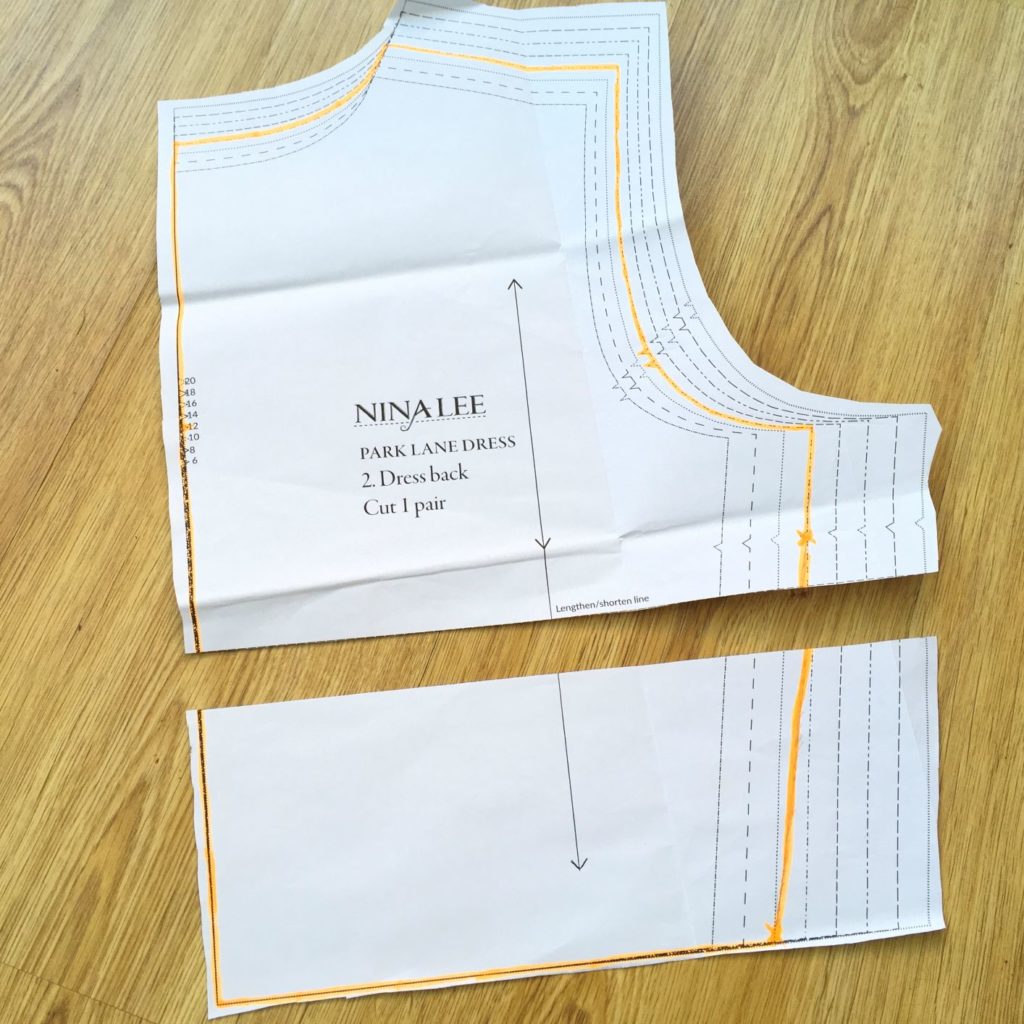
Now you are ready to locate the bust, waist and hip markings along the cutting lines of the pattern pieces. Some patterns have a line where these are, but if not, most of the patterns will have a notch at the bust, waist and hip points. If the hip is not marked, you can easily draw it in if you measure 8” / 20cm below the waistline. Then, on the relevant cutting line for your size, make a mark at these three points (I have made a X with a highlighter). So, for me it will be size 12 at the bust (I have increased this from a size 10 for the purpose of this demonstration), size 10 at the waist and size 14 at the hip.
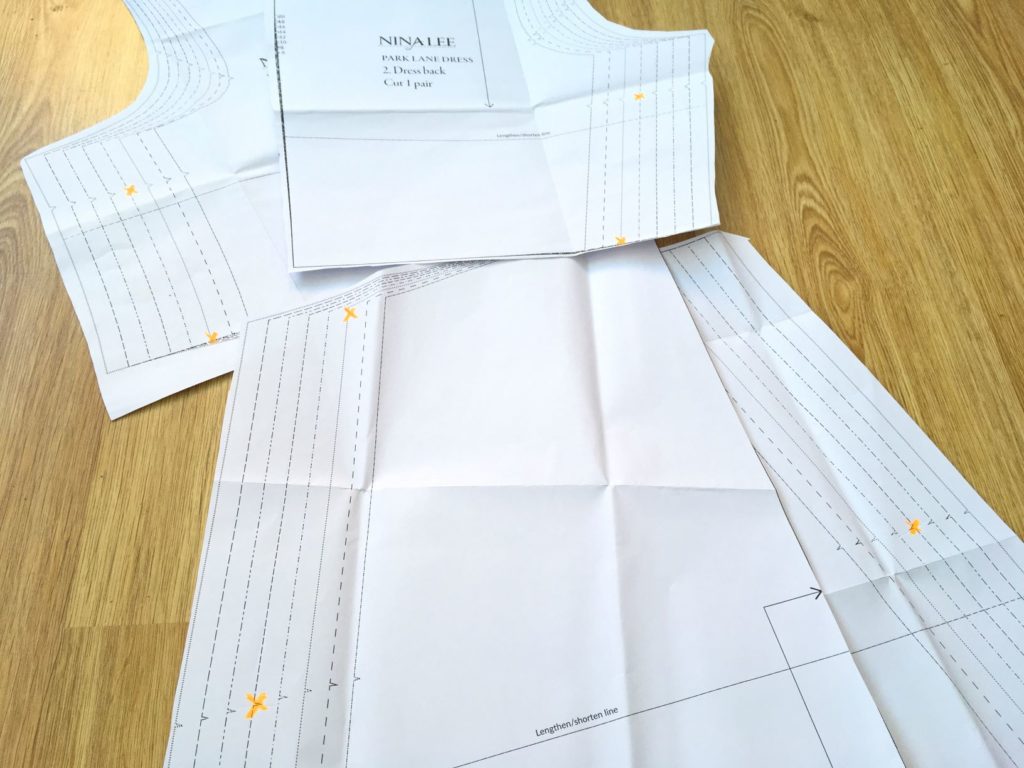
Then, with a pencil, gently redraw the cutting out lines between the different sizes. The most important thing is to avoid sharp angles and maintain gentle curves. It is possible to use a dressmaker’s curve for this, but I prefer to do it freehand with lots of light, small lines overlapping each other. Once I am happy with my line, I draw a darker solid line over the lighter markings.
Make sure that you have followed the same process for all front and back pattern pieces. One of my little top tips is that as the side seams of skirts and trousers are often the same shape on the front and back pattern pieces, lay the back pattern on top of the already adjusted front pattern piece and trace the new graduation line. It saves so much time and your pieces will better fit together too!
Next, it can often be difficult to differentiate between the cutting lines for different sizes, so before I do anything else, I use a highlighter or marker pen to draw along the lines I want to cut out. This is a useful trick and it makes the lines instantly visible for the next steps.
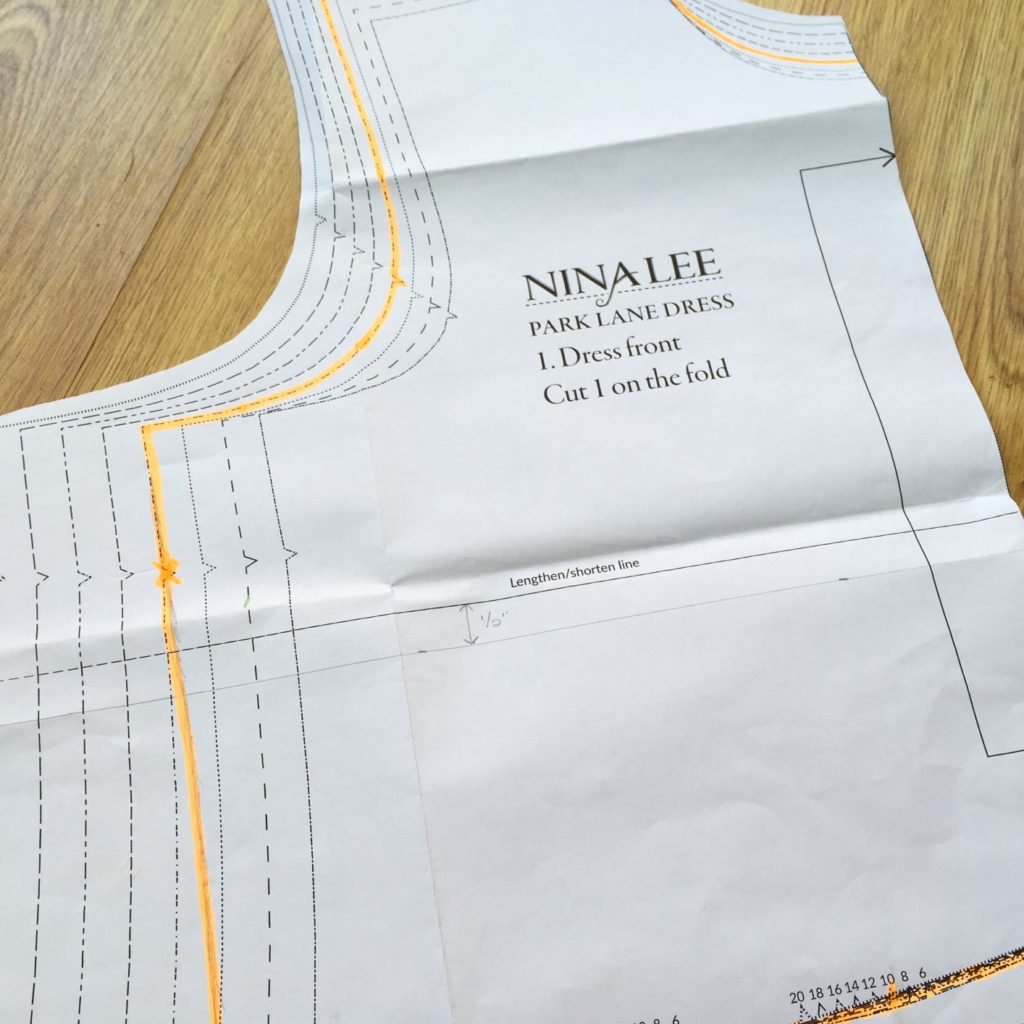
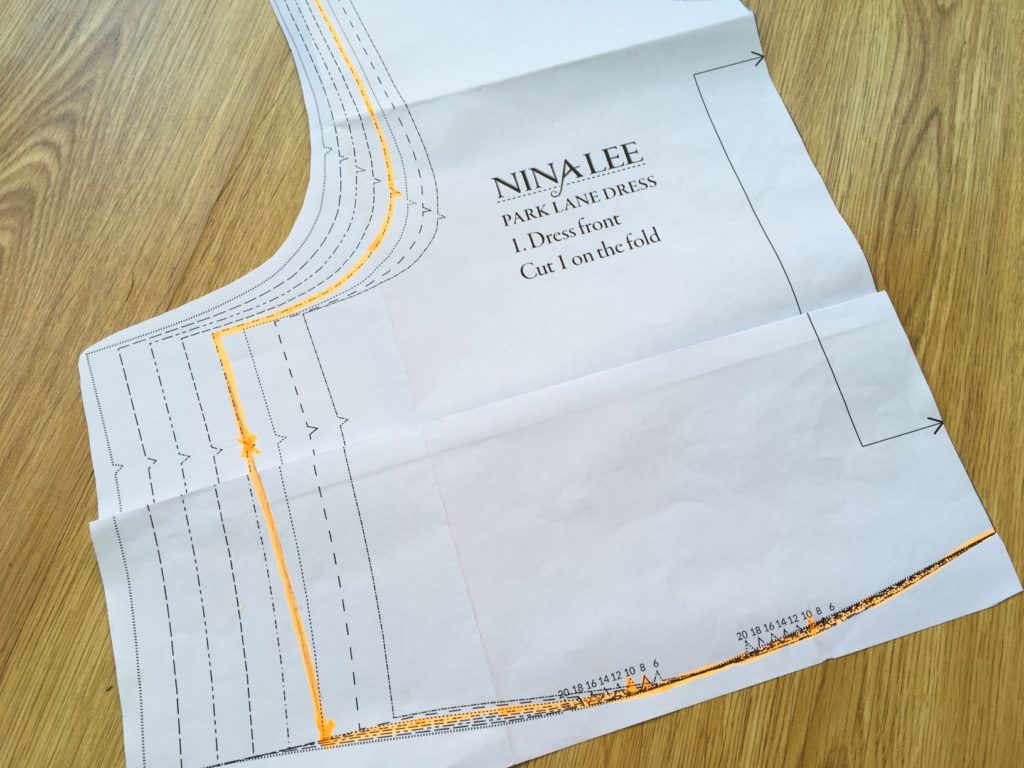
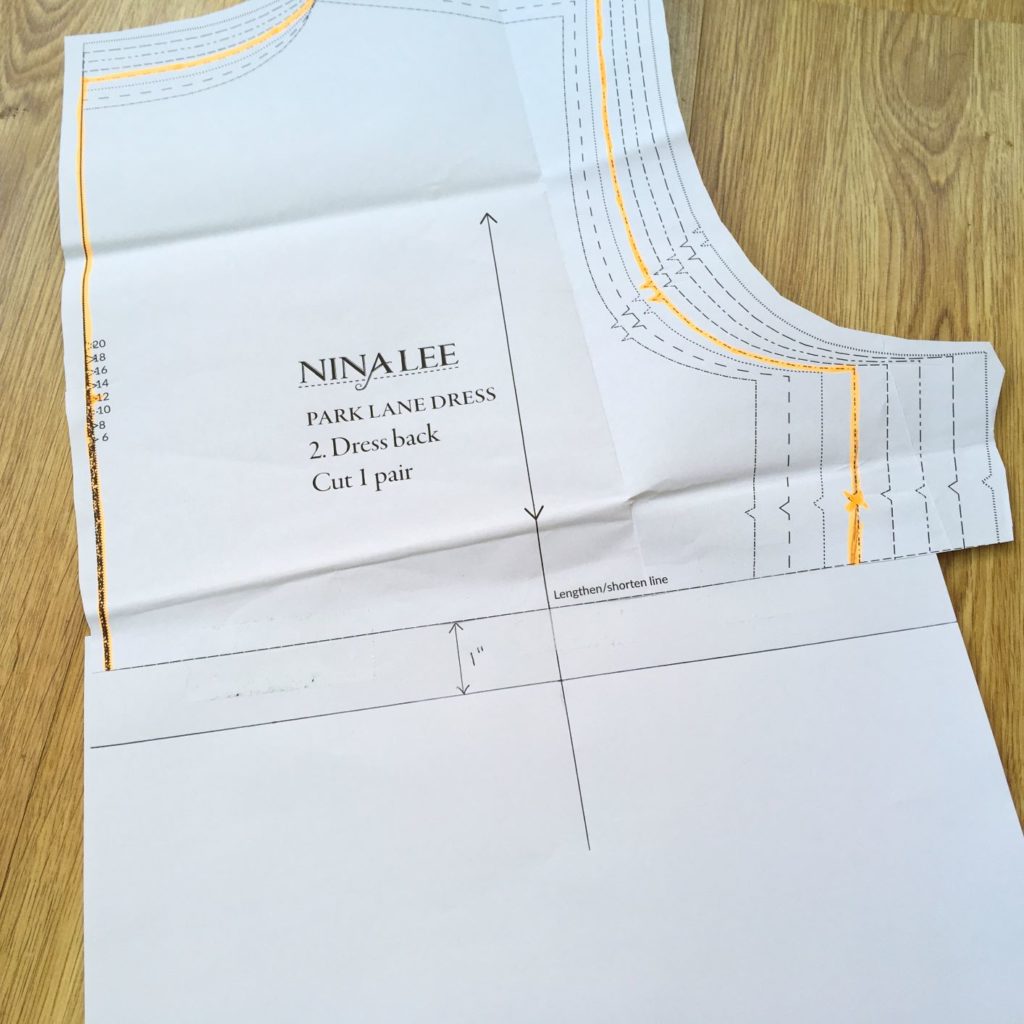
The next alterations that need to be looked at are whether the pattern pieces need to be lengthened or shortened and there are a number of areas where this may be needed.
Adjusting the hem length depends on the style of the garment. For straight skirts or trousers it is easy to add or remove the desired length from the hem edge of the pattern piece. However, if you did this for tapered patterns you would be making the hem wider or narrower. This applies to sleeves too. There would be nothing worse than making a hem so narrow that you could not get your foot or hand through the opening!
So, the adjustment needs to be made elsewhere and most of the time there will be a line or two parallel lines that are ¼” / 5mm apart drawn across the pattern piece. Quite often these lines are marked ‘Lengthen or Shorten Here’. On trousers you will usually find them just above the knee and on sleeves they will be slightly above the elbow. If there are no lines, you can draw them in yourself, but make sure they are at a right angle to the grainline.
The same lines can also be found on bodices just above the waistline and these are useful for anyone who is longer or shorter in the body. I am long in the body and have found that by lengthening bodices by 1” / 2.5cm, the garment fits better and is much more comfortable to wear too. I now automatically do this to any garments I am making.
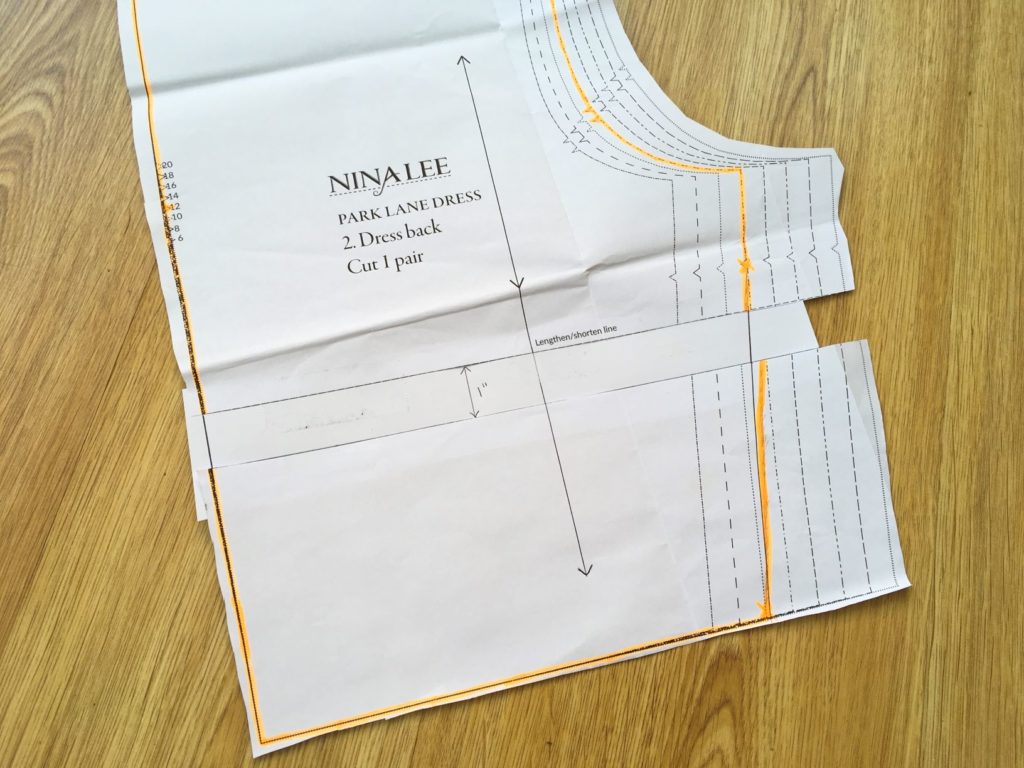
To shorten a pattern piece, work out how much it needs to be shortened by, divided that amount by 2 and draw another line that distance below the lengthen/shorten line. For example, if you are shortening the piece by 1” or 2.5cm, draw a line ½” or 1.25cm below the lengthen/shorten line.
Next fold the pattern in half by folding up the lower part along the lengthen/shorten line. Then fold the lower part of the pattern back down again along the new line that you drew. Securely tape the fold down.
To lengthen a pattern piece, make sure that the grainline bisects the lengthen/shorten lines and draw an extended line if it does not. Then cut the piece in half along the lengthen/shorten line (or between the two parallel lines) and tape a piece of paper behind the top piece so that it extends below the cut edge.
Work out how much the piece needs to be lengthened by and draw a line that distance below the cut edge and parallel to it. Again, continue the grainline by drawing it on the extra piece of paper.
Place the lower part of the pattern on the tracing paper so that the cut edge lines up with the drawn line and that the grainline continues in one straight line. Securely tape in place.
Quite often the above processes will distort darts and cutting lines, so these need to be amended.
Redraw any darts by drawing the two lines from the bottom of the dart to the point. The cutting lines can be gently redrawn by using the same process as for grading between sizes.
One final little tip is to remember to perform the same procedures with all of the front and back pieces otherwise they will not fit together. Yes, I have learnt this the hard way!
Now it is up to you whether you use the pattern pieces as they are, cut them to size, or trace the size you are going to make. There are pros and cons to each of these methods and I will cover all of them in my next blog post all about cutting out.
Again, I hope you have found the above information useful. I have learnt so much over the years, often the hard way, and hopefully I can help you feel more confident about your sewing projects.
Enjoy your sewing and until next time,
Leanne
Leanne de Lima Araujo is the owner of Gather ‘N’ Sew where she teaches popular sewing workshops.