Measuring yourself correctly and choosing which pattern size or combination of pattern sizes to cut out is one of the most important steps in sewing a garment.
However, this can be the one step that we dread the most! I know that I do and sometimes putting off this step means that I don’t sew nearly as much as I would like to. As I am so passionate about sewing it seems silly, doesn’t it?
My first excuse for not enjoying this step is that I am nowhere near a ‘standard’ size. Being a true pear-shape, my hips are at least two sizes bigger than my waist and bust. On top of that, my legs are long, as are my arms, I have a hollow in my lower back (swayback), and my thighs and upper arms are ‘heavy’. I also have a long torso. Does this ring any bells?
You may not have the same issues that I do, as after all we are unique, but we all have our own set of challenges.
The first of which is a mental challenge. Why are we conditioned to think that it isn’t OK to be different and that we need to conform to what is acceptable? Because it very definitely is OK to be unique!!
So, the most important thing that I tell myself and that we also teach in our workshops, it that the measurements are just numbers! They do not define who we are but help us to create a garment that fits us well and that we can wear with pride.
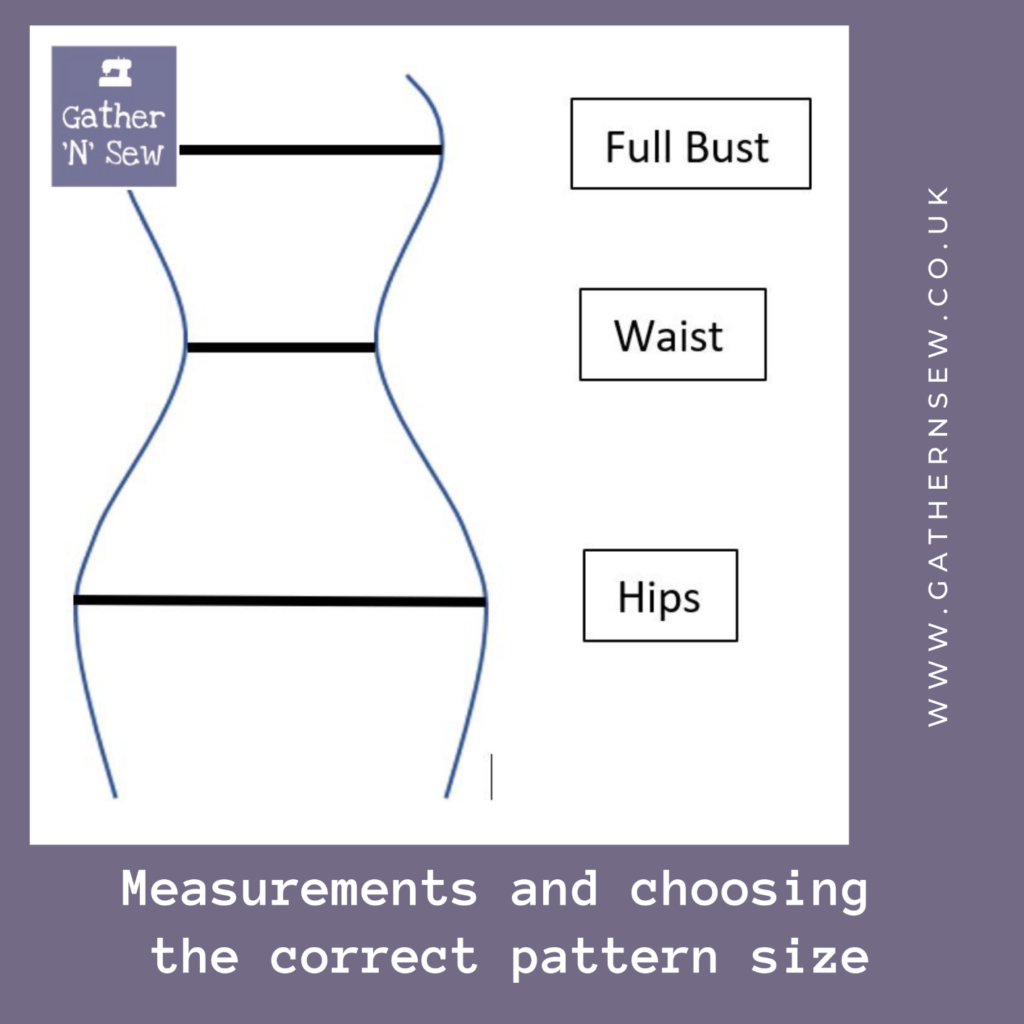
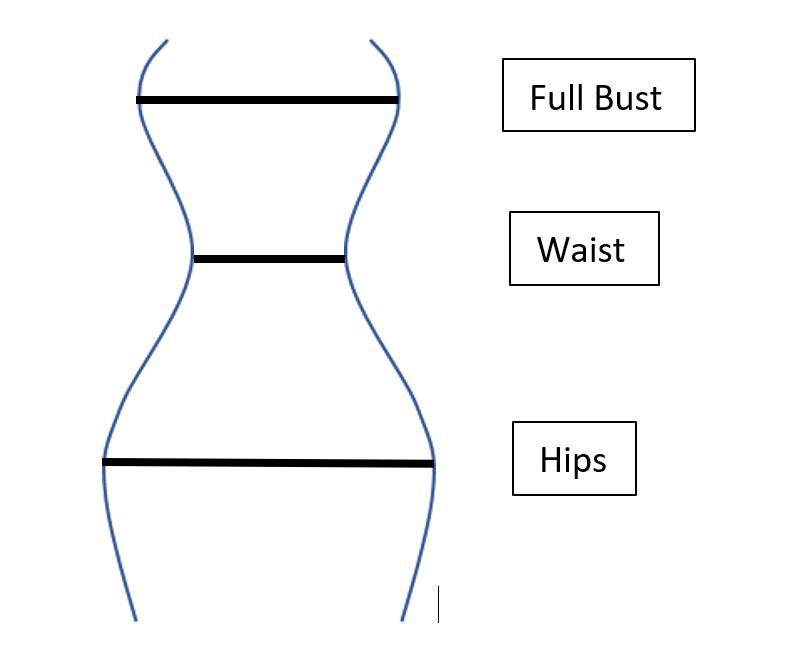
There are many different measurements that are used by dressmakers but the most important three are:
Bust:- around the fullest part of your bust.
Waist:- around your natural waist (the narrowest part of your waist or in line with your belly button if your natural waist isn’t obvious).
Hips:- around the fullest and widest part of your thighs and bottom (this is usually 8”/20cm to 9”/23cm below your waist).
However, before you get down to taking your measurements, here are some important points to consider:
- Measure yourself whilst wearing underwear as clothing can distort the measurements.
- It is useful to wear the bra that you will be wearing with the garment you are going to make as different bras can give you a different shape.
- Getting someone else to measure you can be helpful.
- Make sure that the tape measure is parallel to the floor.
- Don’t pull the tape measure too tightly but make sure it sits snugly around you.
- Stand in a relaxed position with your arms down by your side.
- It can be helpful to stand in front of a full length mirror.
- It doesn’t matter whether you take your measurements in cm or inches. The vast majority of patterns give both, so use what you are most comfortable with.
You can record your measurements on the pattern itself, or in a notebook so that you have them for future reference.
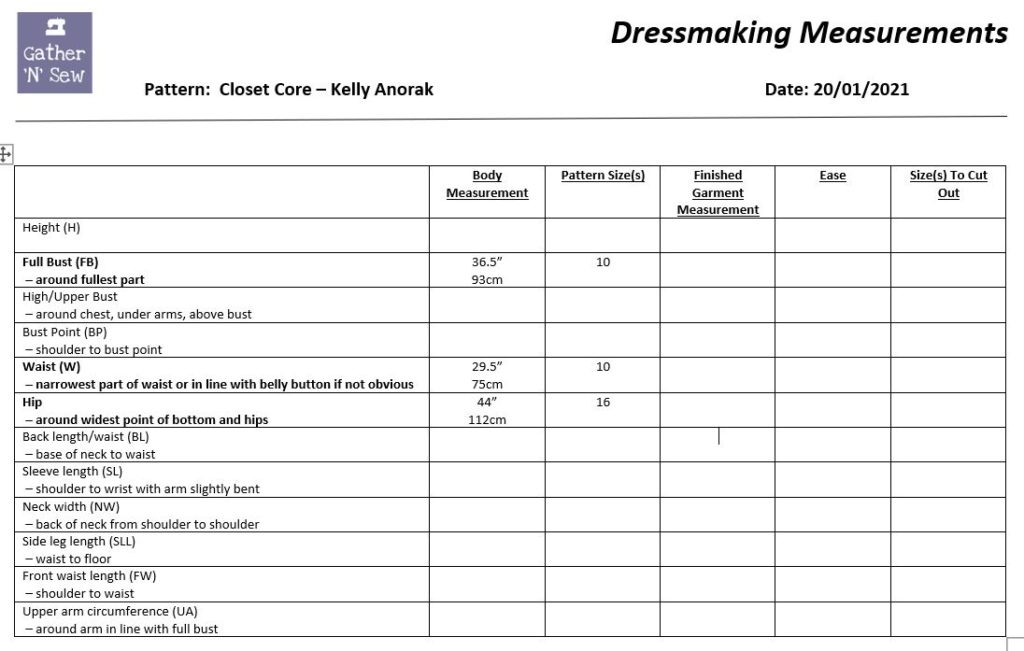
However, we have a very useful tool. A free printable pdf table can be downloaded here and this also has space for recording information specific to the pattern you are sewing. In the table we have highlighted the three main measurements in bold, but have also included space for some other body measurements that will be useful as you get more experienced.
Once you have your measurements, take a look at your pattern and fill in the ‘Pattern Size’ column with the size that corresponds to your measurements. If you are not the same size for each measurement, that is absolutely fine and normal!
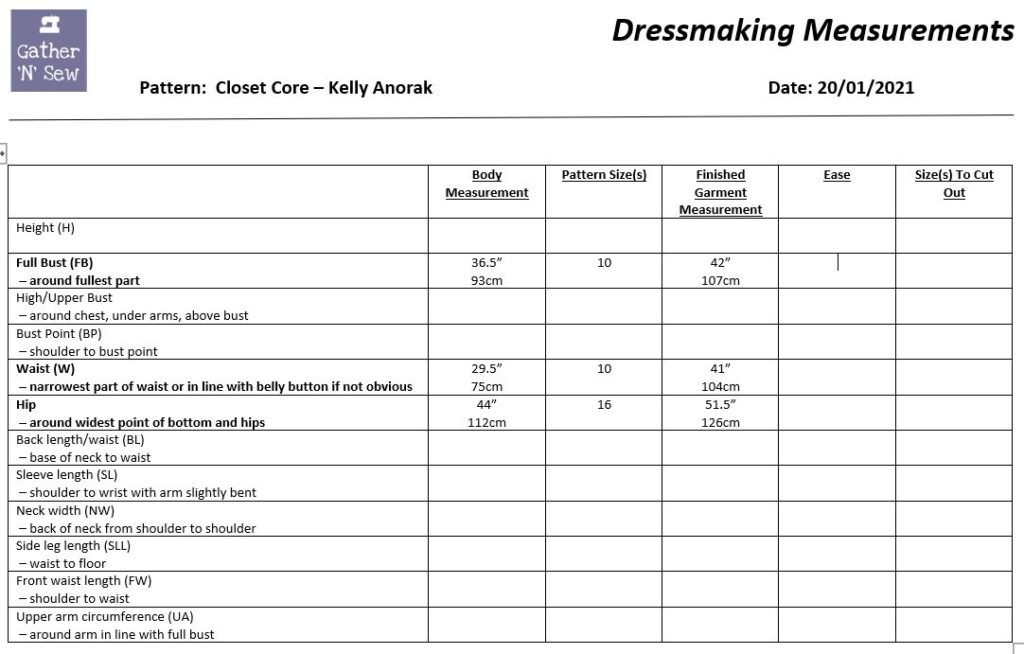
For the purpose of this blog I am using my current sewing project, the Kelly anorak by Closet Core patterns and the photo below shows the size chart and finished garment measurements.
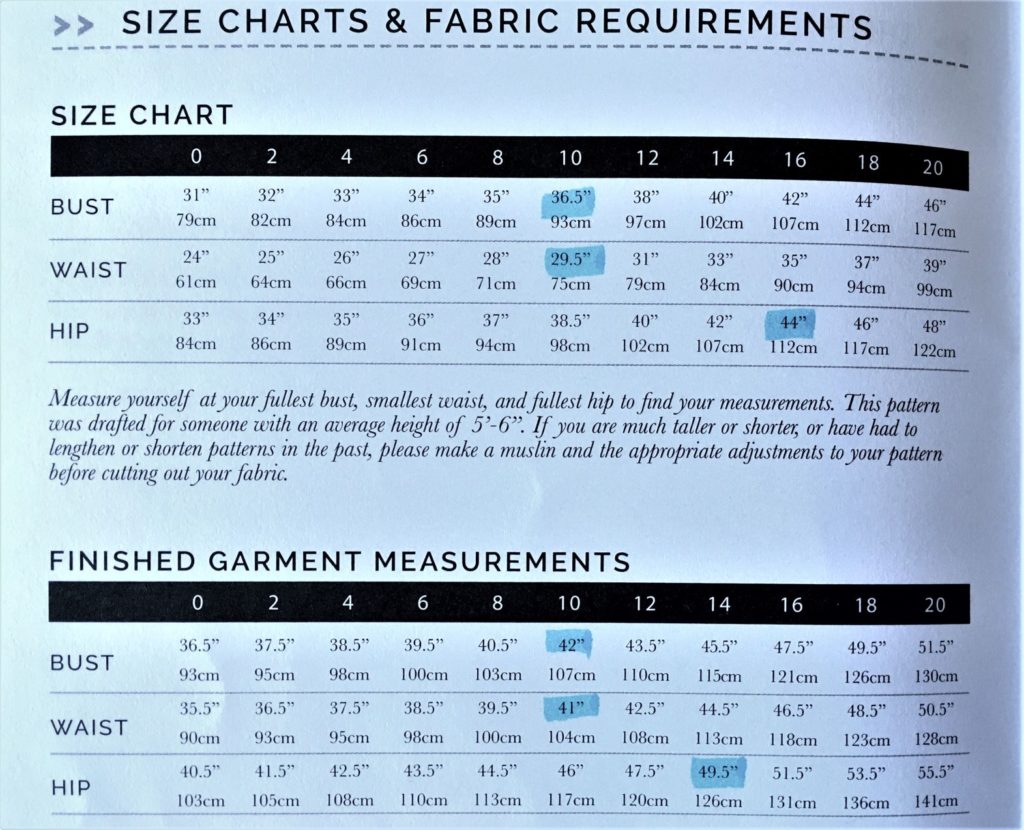
These measurements have now been entered into my pattern table (I have shown both cm and inches for the purpose of this blog, but I would normally only use one method).
Next note down the ‘Finished Garment’ size according to the pattern. This is usually shown on the pattern envelope or on the instruction booklet. You can see that I have two different sizes with my hips being 3 sizes bigger than my bust and waist.
Your next step is to work out the garment ‘ease’. This is the difference between the Finished Garment size and your body measurement. Unless you are sewing with a stretch/knit fabric, your clothes will need to be a bit bigger than you so that you can move easily. The larger the ‘ease’, the baggier the garment will be.
So, for each body measurement subtract your measurement from the corresponding finished garment measurement.

This will give you an idea of how much bigger the garment is in relation to your body measurements. But sometimes it is hard to visualize and I like to take it one step further.
If you hold the tape measure around you showing the relevant finished garment measurement, you will be able to see the amount of ease and therefore the size of the garment.
For example, with my bust measurement of 36.5” and the finished garment bust measurement of 42”, by holding the tape measure around me in line with my bust and with it measuring 42″, I can tell that the 5.5” ease is enough to make the jacket comfortable to wear, but not too baggy.
This means that whether you want your garment to fit closely, or whether you would like it with lots of room to move, you can now make a more informed decision on what size to cut out.
I feel that it is important to note here that I always use the finished garment measurements (after measuring the amount of ease) to help me decide what size/s to cut out. I wish I had known this when I started dressmaking. It would have saved a lot of disappointment.
Now with this knowledge you can fill in the last column, which ‘Size/s To Cut Out’. You will note that I have decided to go down a size on my hip measurement. This is because after using the tape measure method described above, I decided that the size 14 would give me ample room around my hips.

So now you are ready for the next step.
And this brings me on to the second reason why I don’t like measuring myself, and that is adjusting the pattern to fit. This includes grading between sizes and lengthening/shortening when all I want to do is get on the sewing machine! But it is very important and as there is quite a lot to cover in this topic, I am going to do it in a separate blog post soon.
I hope that the above has helped you feel more confident about your next sewing project and made the measuring process a lot more enjoyable.
See you soon and enjoy your sewing,
Leanne