
Zipped pouches must be one of the most useful bags we can sew. They can be any size and make wonderful gifts, especially when filled with gorgeous treats. But, best of all they are fantastic scrap busting projects.
Find out how to make your own.
You Will Need
Fabric for outer.
Fabric for lining.
Zip.
Cotton tape or webbing.
Zipper foot for sewing machine.
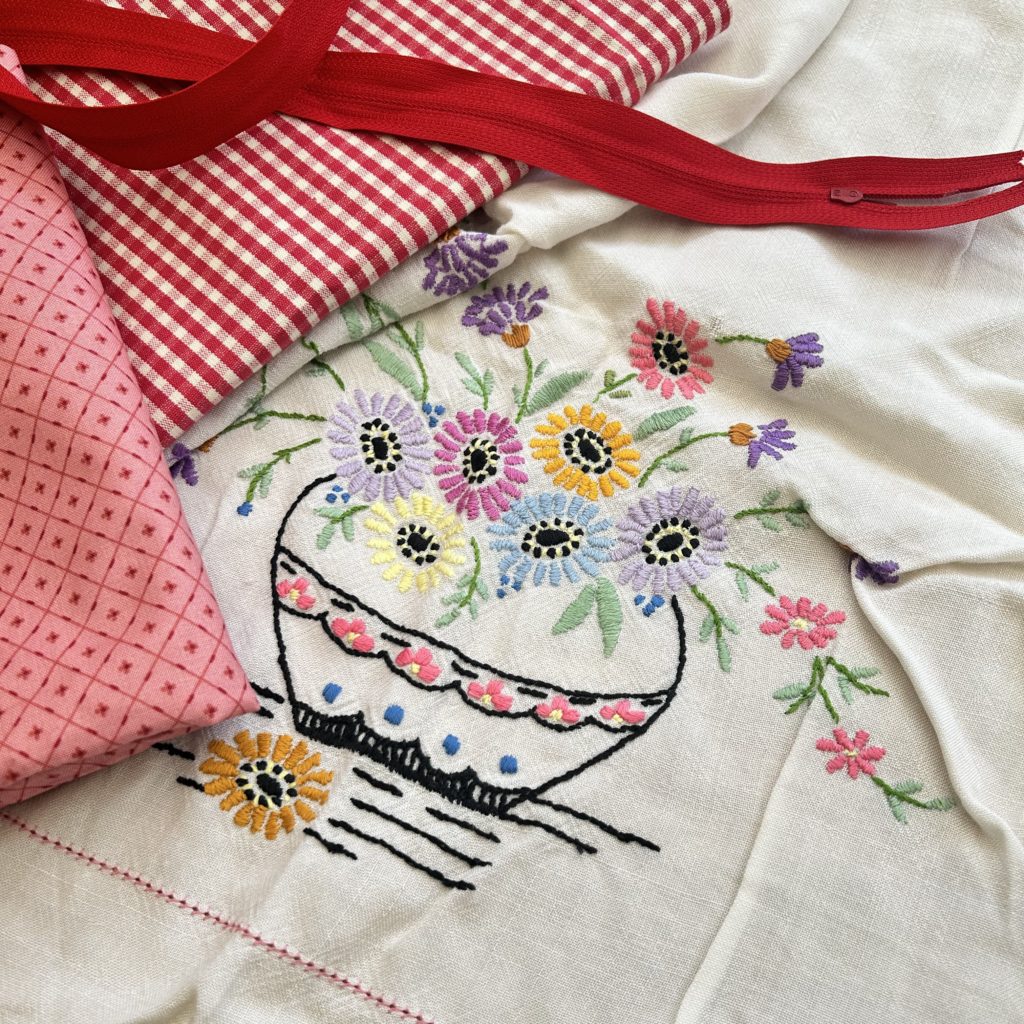
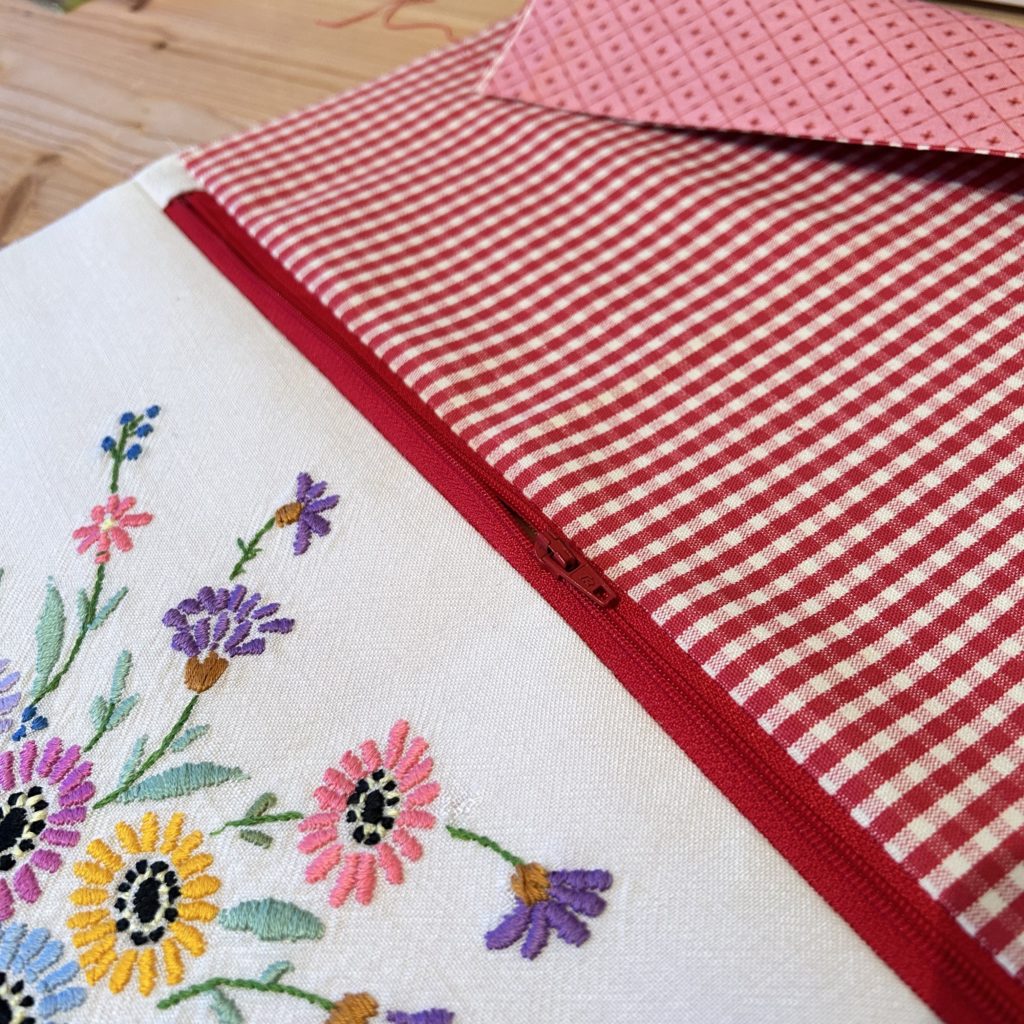
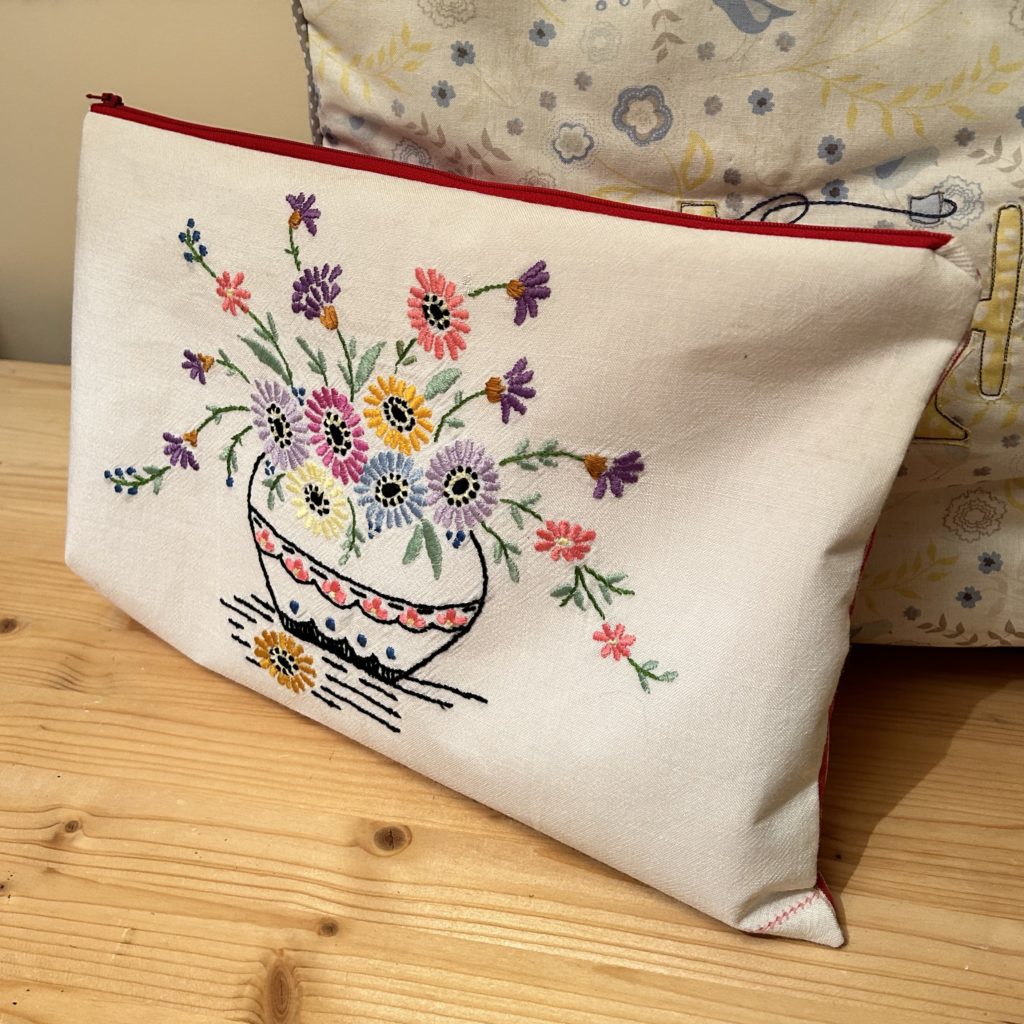
For the front of my bag, I used a light-weight linen fabric that I found at a local charity fabric. After spending years in my stash, it was about time that the beautiful hand embroidered fabric was made into something useful.
For the back of the bag I found a medium-weight cotton gingham fabric that was perfect. The lining fabric was a cotton fabric left over from a quilt project and the zip also came from my stash. It feels so good to use stash items!
Cutting Out
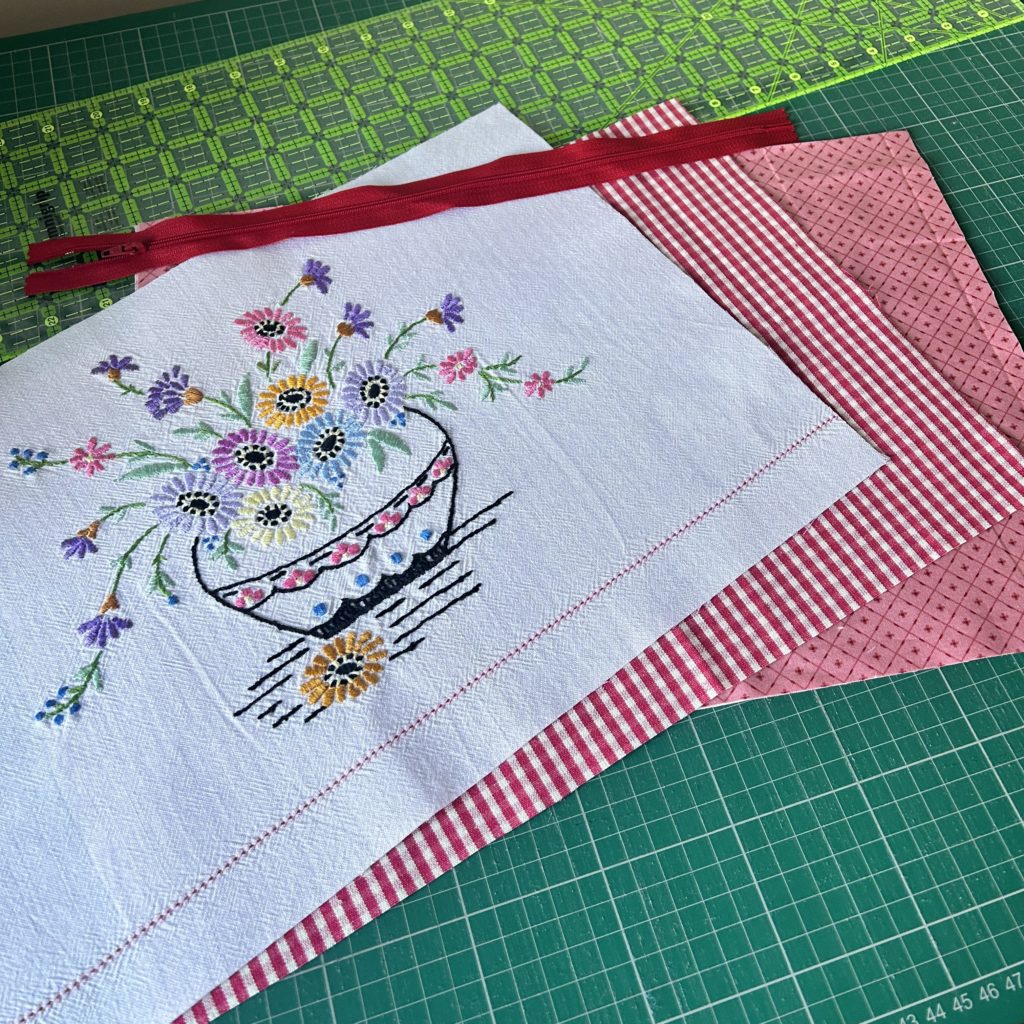
The pouch can be absolutely any size. The size of mine was determined by the size of the embroidered fabric and as I want to use it as a sewing project bag, I made it as big as possible.
The size of my panels were – Height 28cm x Width 40cm.
Once you have determined the size of your pouch, cut out your fabrics as follows:
2 panels from outer fabric/s.
2 panels from lining fabric.
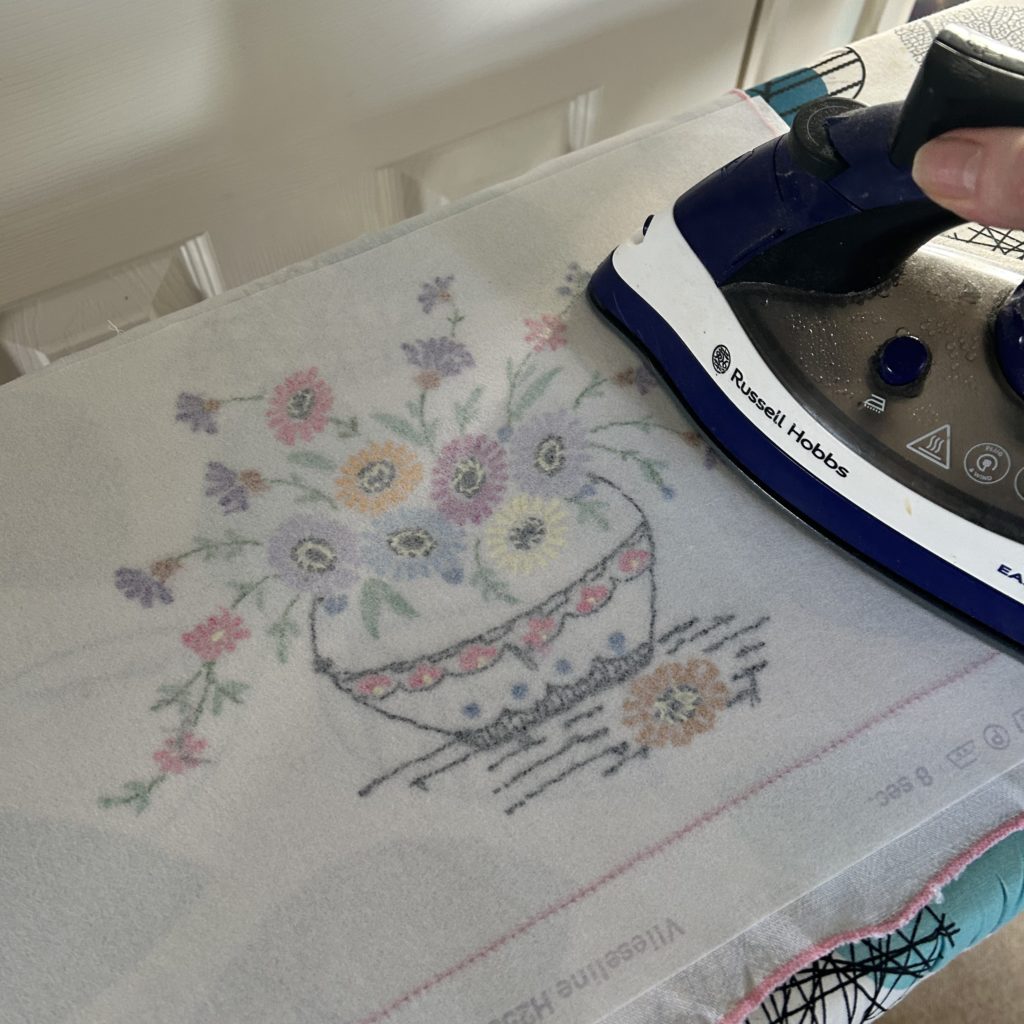
If you would like to add more structure to your pouch, you can apply interfacing or wadding to your outer panels.
In this case, I wanted to protect the embroidery and give extra strength to the fabric. So, I ironed a medium-weight interfacing to the reverse of the front panel.
Sew Your Pouch
Now comes the fun part, sewing all the panels together.
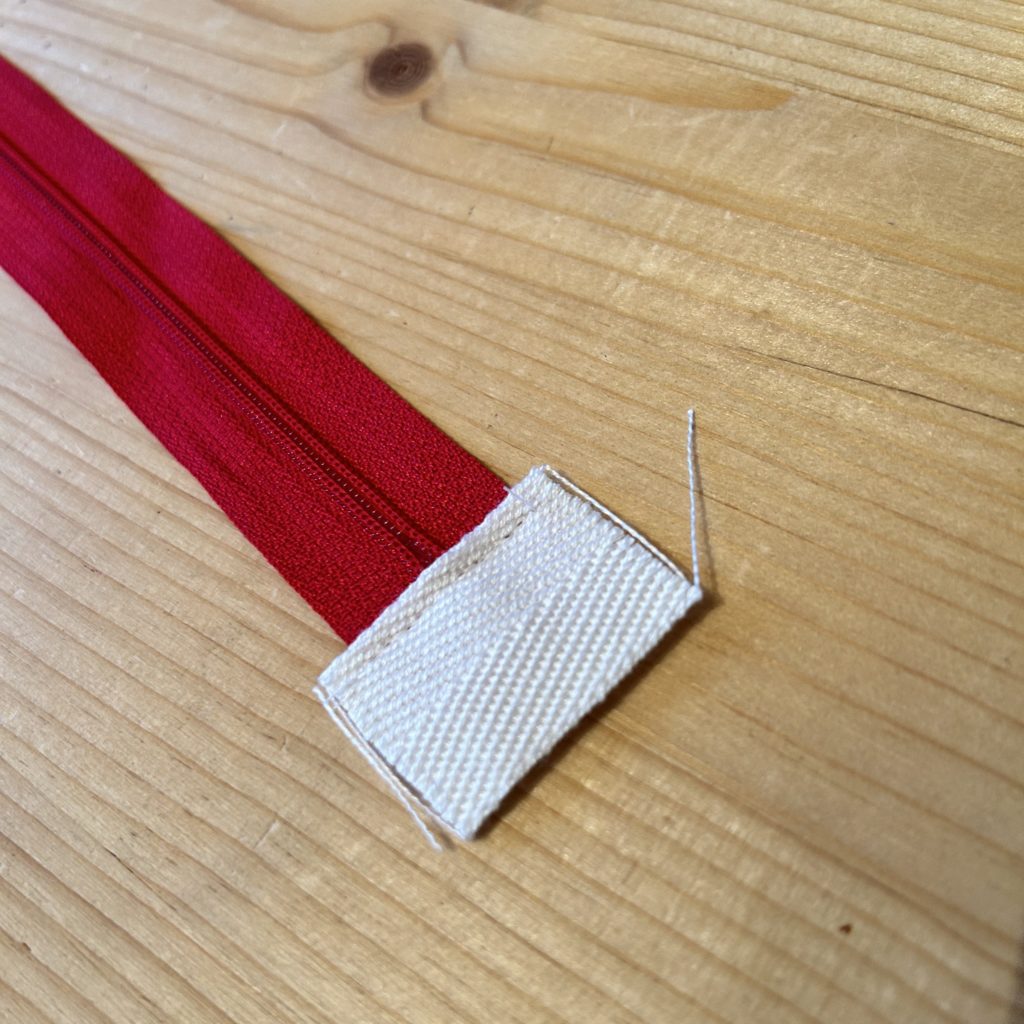
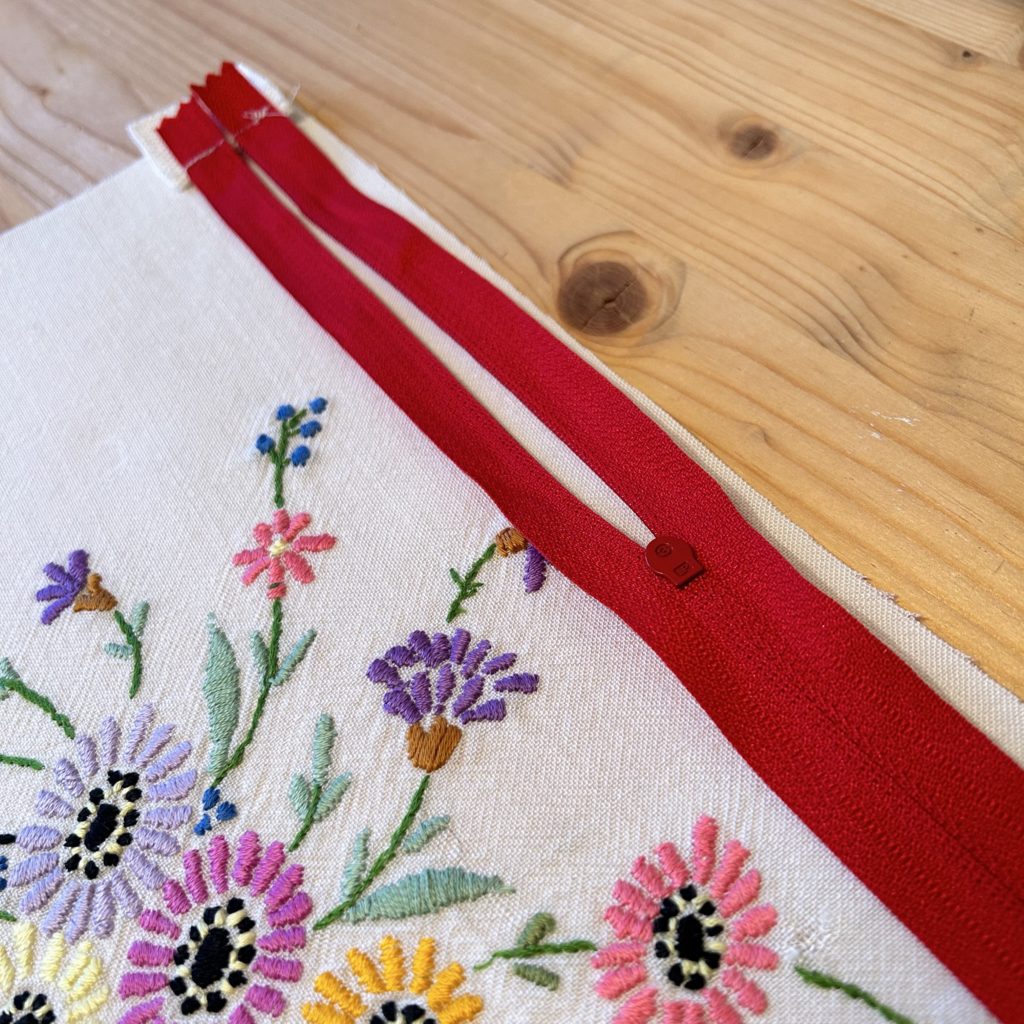
First, sew a strip of tape or webbing to each end of the zip, next to the stoppers.
Place the front panel right side up. Then place zip face down on top, matching the side of the zip with the upper edge of the panel.
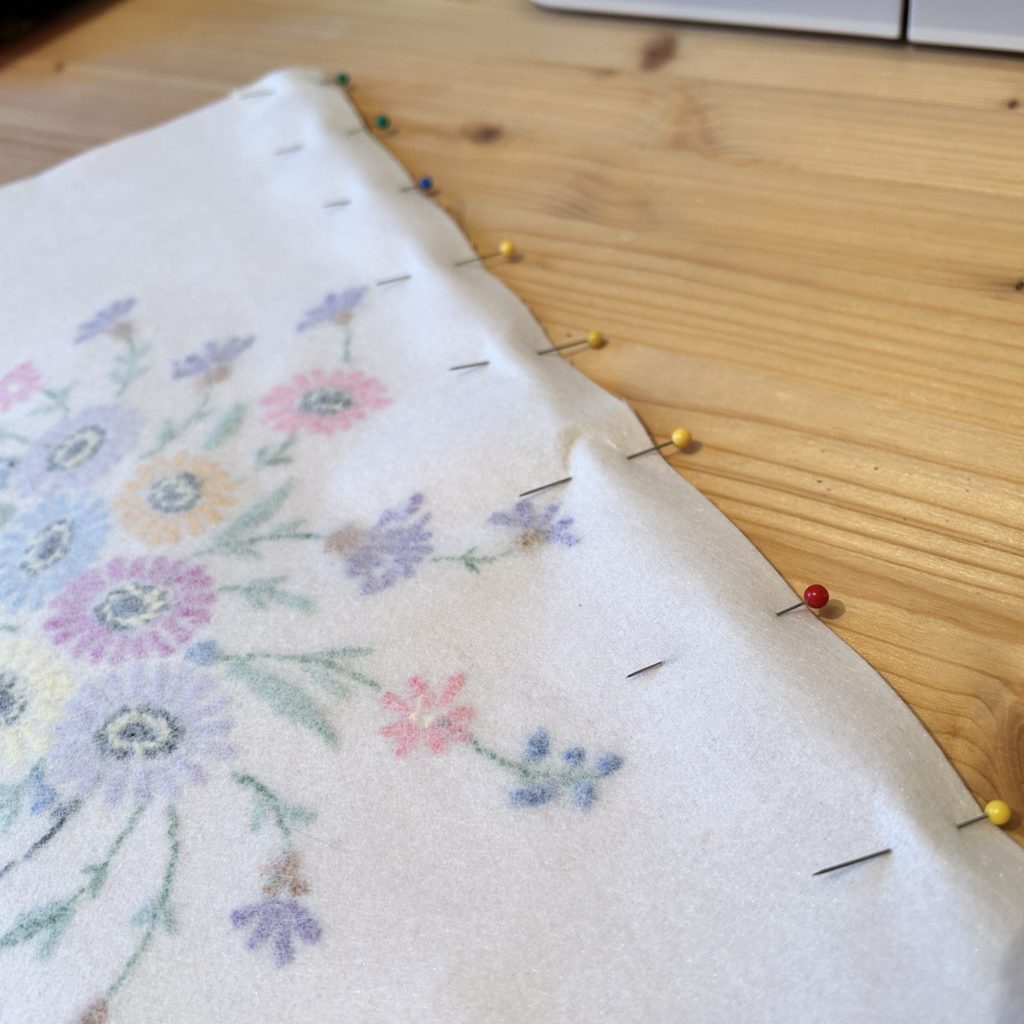
Next, place one lining panel on top, with wrong side up. The zip with be between the two fabrics. Pin the layers together.
Using a zipper foot, stitch the layers together.
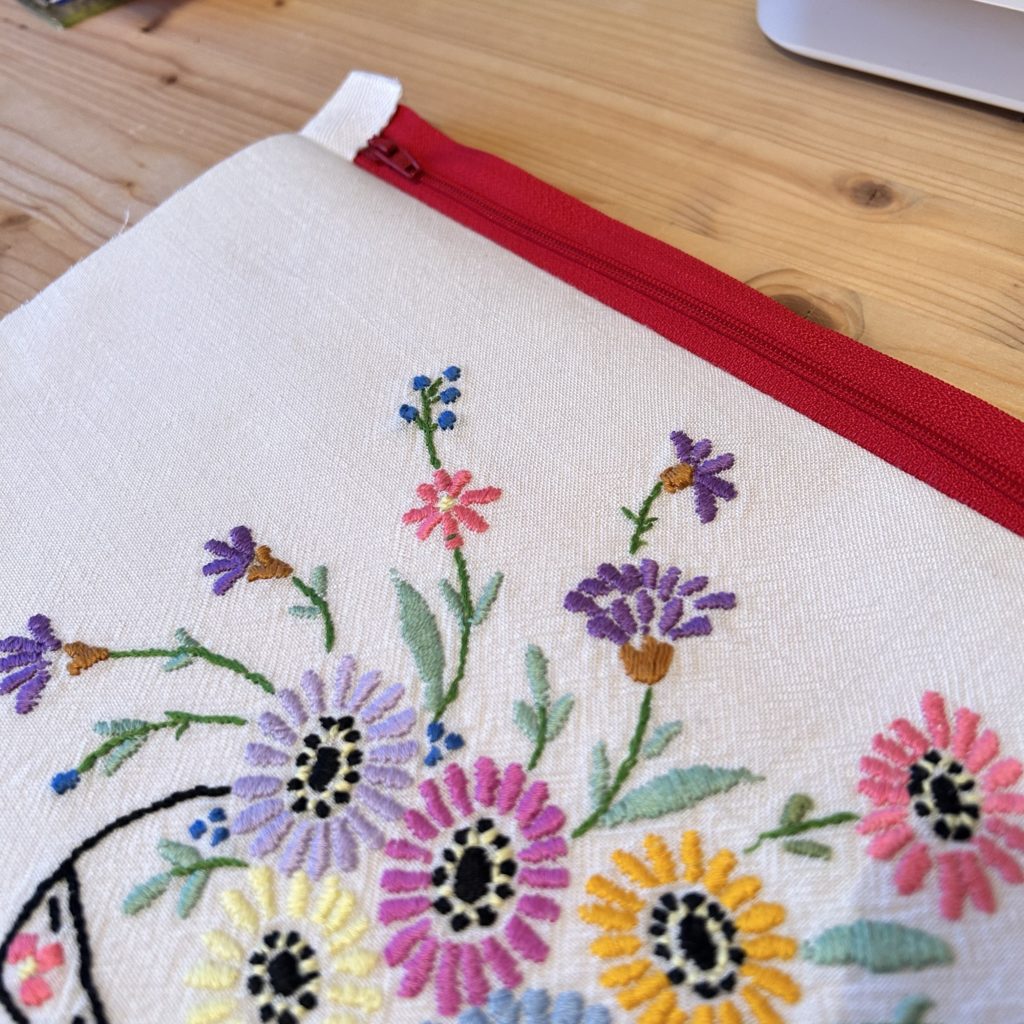
Press both fabrics away from the zip.
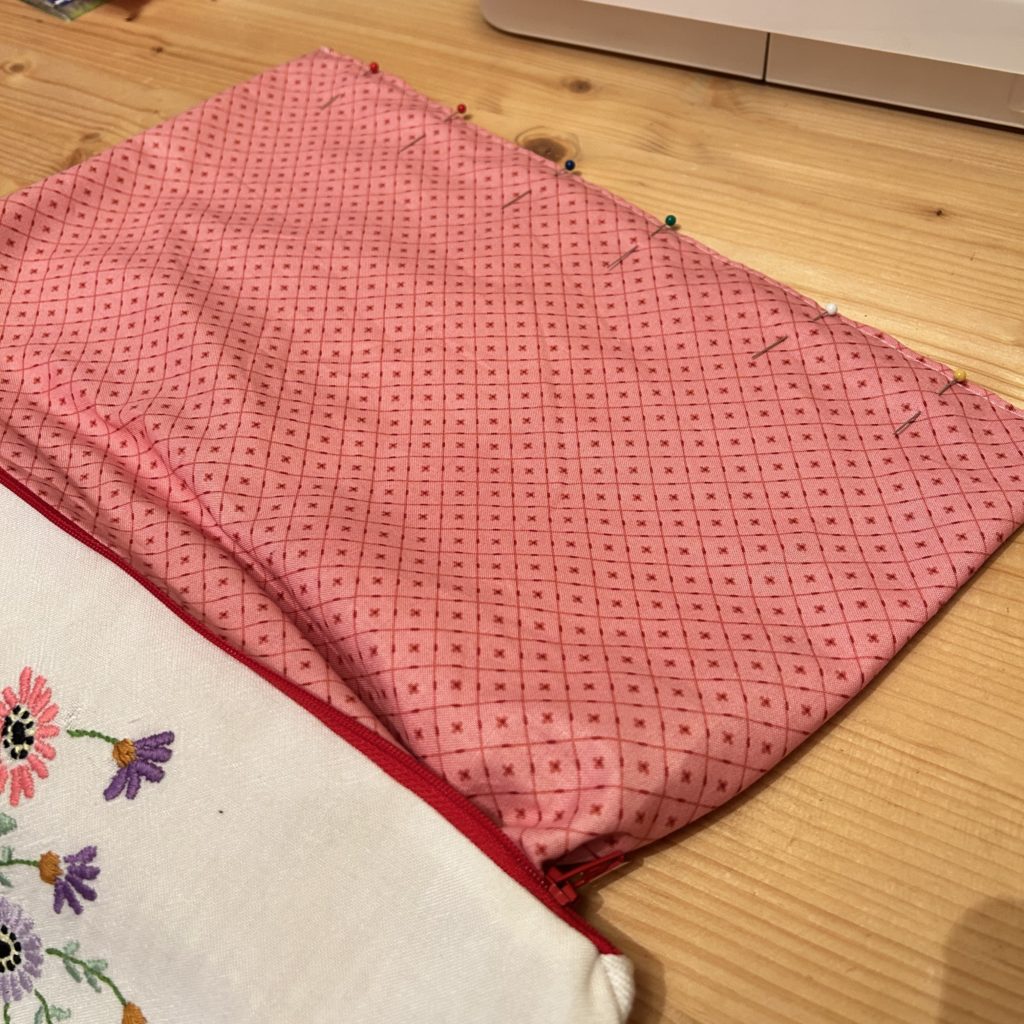
Place the remaining panel right side up, then place the zip face up on top, making sure you align the zip with the top edge of the fabric.
Next, place the pouch outer fabric on top with right side facing down.
Pin together and stitch.
Press both fabrics away from the zip.
VERY IMPORTANT! Open the zip at least halfway. If you forget this step you will be very sad when you can’t get into your pouch.
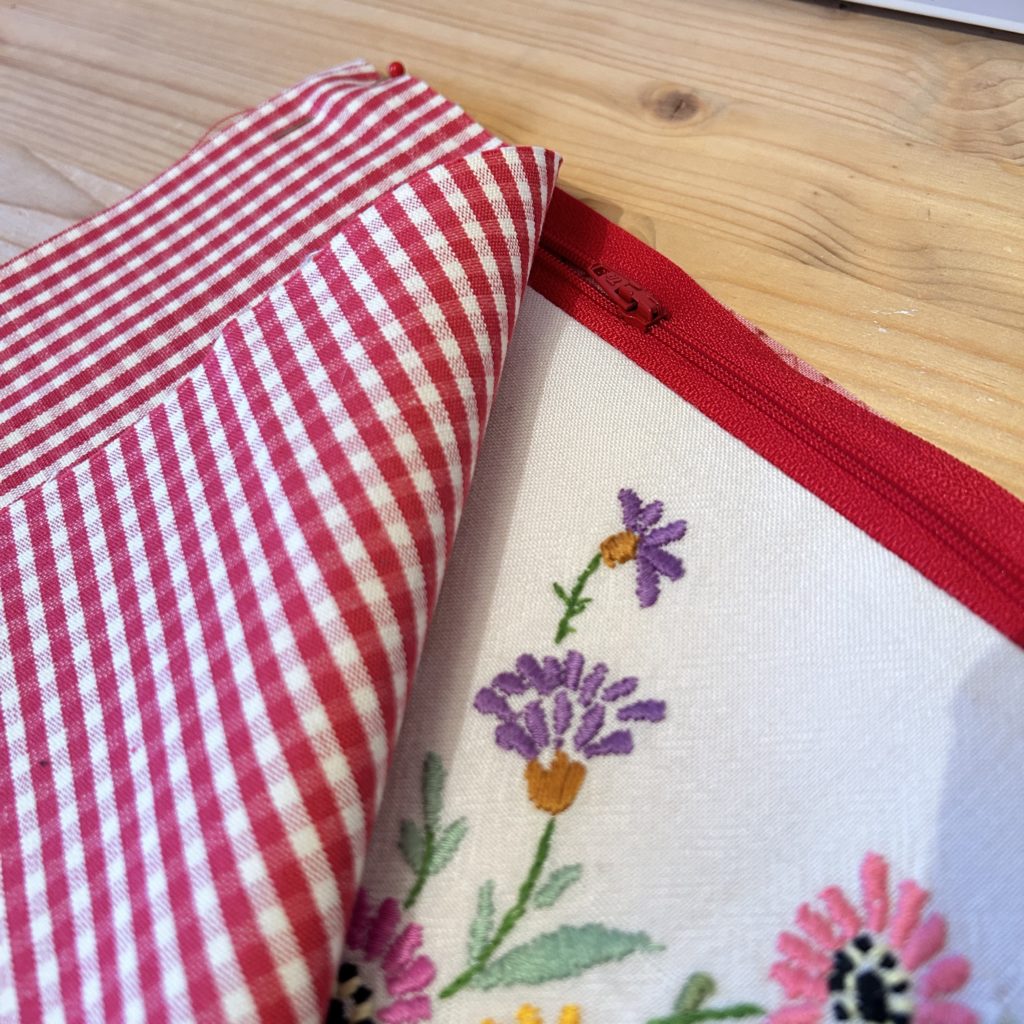
Place the outer fabrics right sides together and lining fabrics right sides together. Make sure that the zip seam allowances are lying towards the lining fabric. The tape at the end of the zip will be folded in half and pointing towards the outer fabric.
Pin around the outer edges.
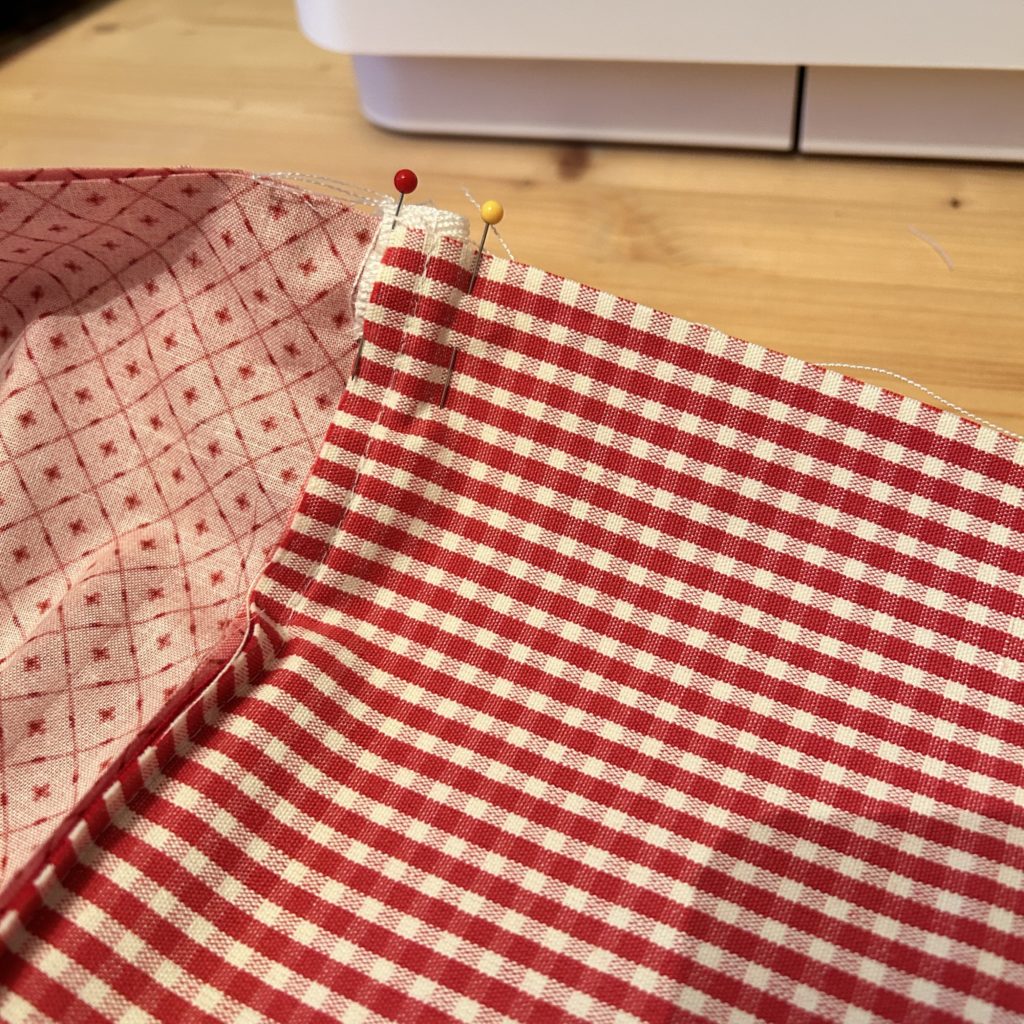
Leaving the lower edge of the lining unstitched, sew around the remaining three edges using a 1cm seam allowance.
Turn the pouch right sides out.
Along the lower edge of the lining, fold the seam allowance to the wrong side and stitch closed.
Push the lining inside the pouch and give it a good press.
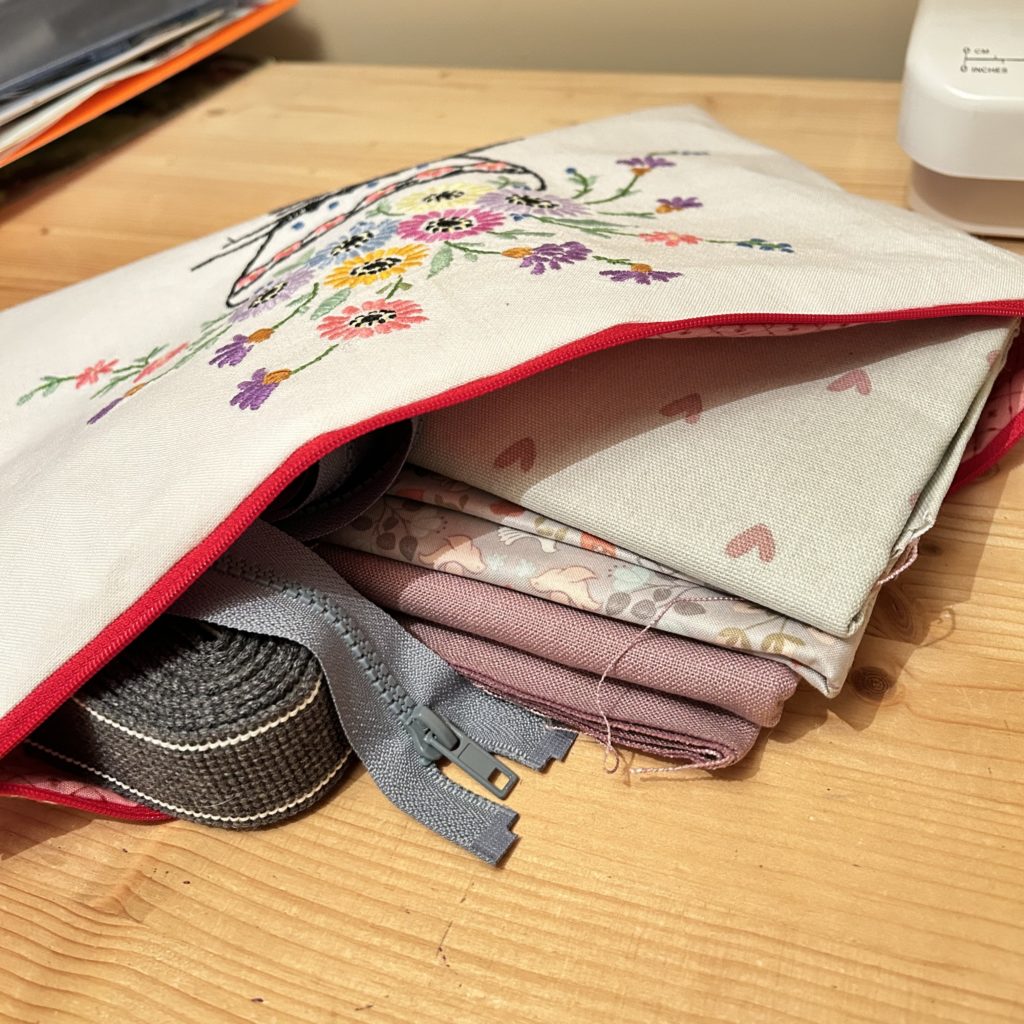
Enjoy using your new bag!
If you would like to discover lots of useful tips and tricks for inserting zips, book a place on our Zip Masterclass!