I cannot even begin to tell you how long this pattern has been on my wish list. There were so many things about the Charlie Caftan from Closet Core patterns that appealed and every time I saw a photo of one my desire to make one grew. I am so happy to say that I was not disappointed.
My opportunity finally presented itself in the summer of 2020 when we were able to stock the pattern in the shop and I immediately knew which fabric I would use. Our drapey Vanessa viscose fabric with an ivory and black floral design on a stunning French blue background was a match made in heaven.
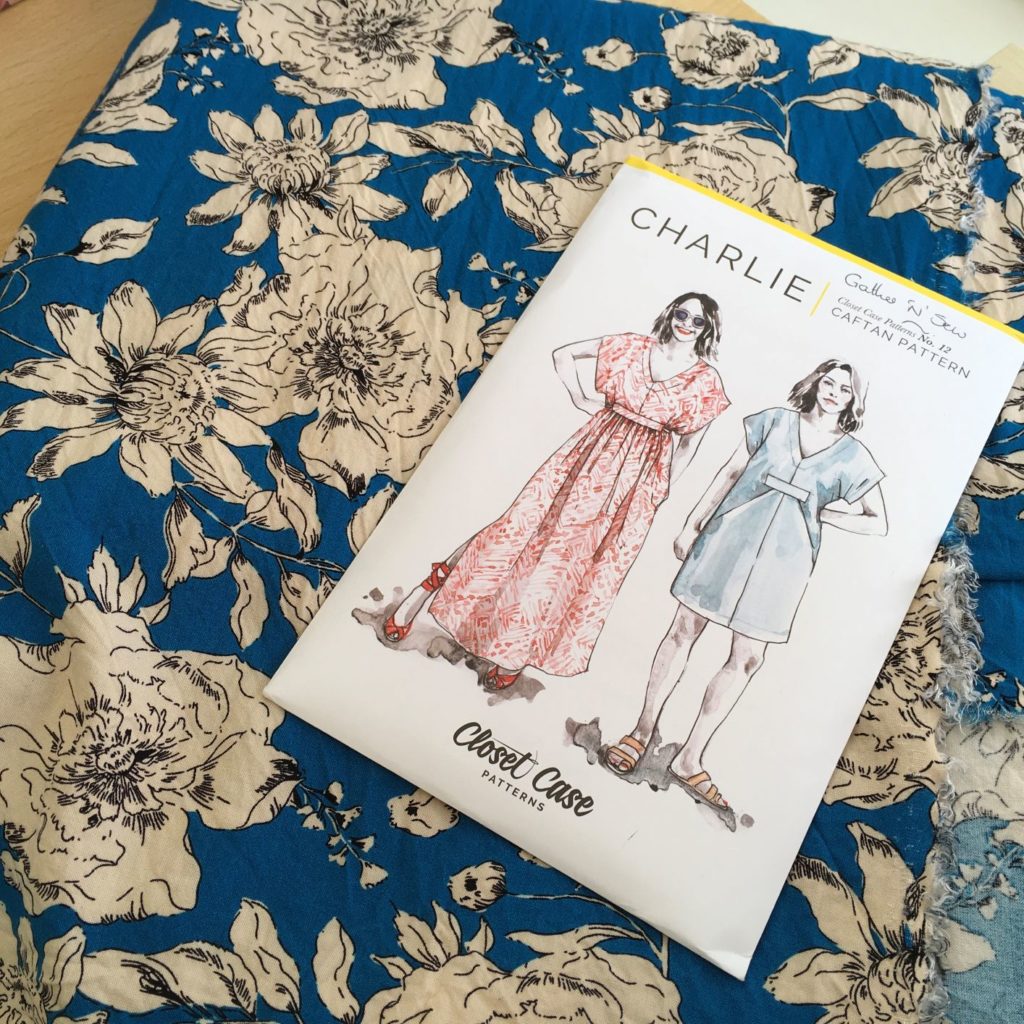
The pattern has three options:- view A is a mini-length caftan with a pleated front, view B is also a mini-length caftan with a gathered front and higher sleeve, and finally view C is a maxi-length caftan with a gathered front, a tie waist and slits in both side seams.
Going through a maxi-dress phase, view C was my obvious choice. With my waist being at least two sizes smaller than my hips I always like having some shaping at the waist, so having the ties is perfect for me. Using the process I outlined in my measurements and cutting out the correct pattern size blog, I opted to cut out a size 10 grading out to a size 14 at the hip. Also, as I am 5’7” tall and the pattern is designed for someone who is 5’6”, I decided to add 1” to the length. The pattern has a straight hem so it was really simple to add the extra 1” to the hem edge of the front and back pattern pieces.
Although the pattern is suitable for most light to medium weight woven fabrics such as linen and chambray, I opted for a viscose because it is soft and drapes well. There is nothing like a swishy skirt! According to the pattern I required 3.2m of fabric and after popping it in the wash (to ensure that any possible shrinkage occurred before I made the dress) and then cutting out, I had 15cm of fabric left. So, the fabric quantities are pretty accurate and it was refreshing not to be left with lots of scraps.
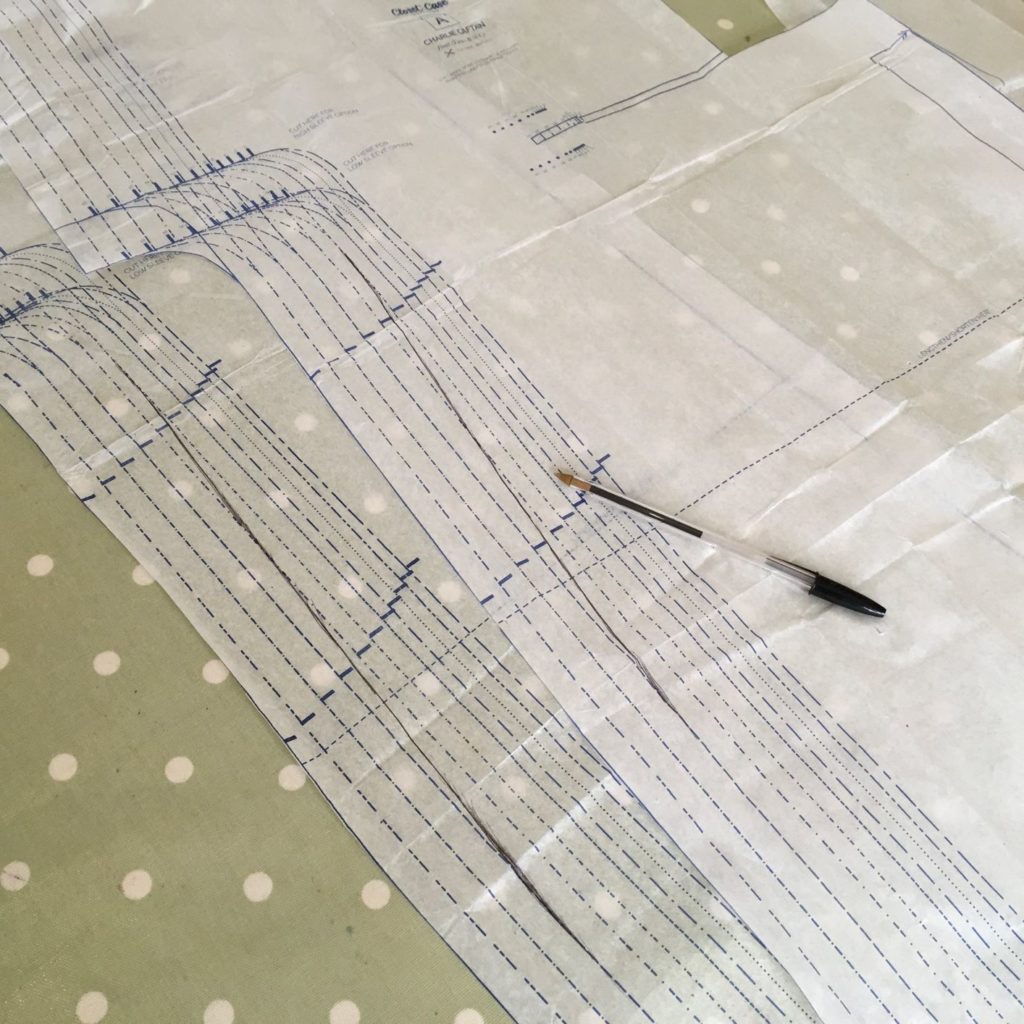
As I began the sewing process, I found that the pattern instructions were easy to follow and the diagrams were helpful.
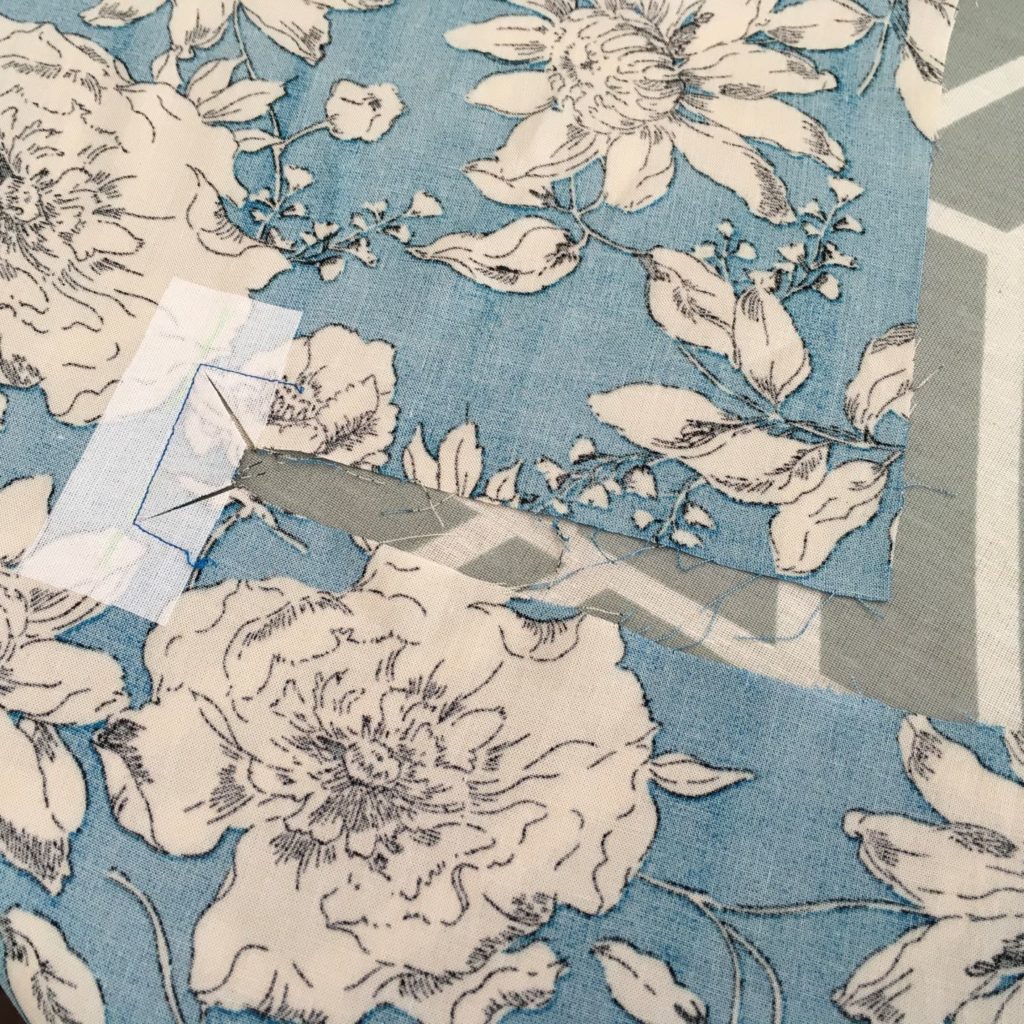
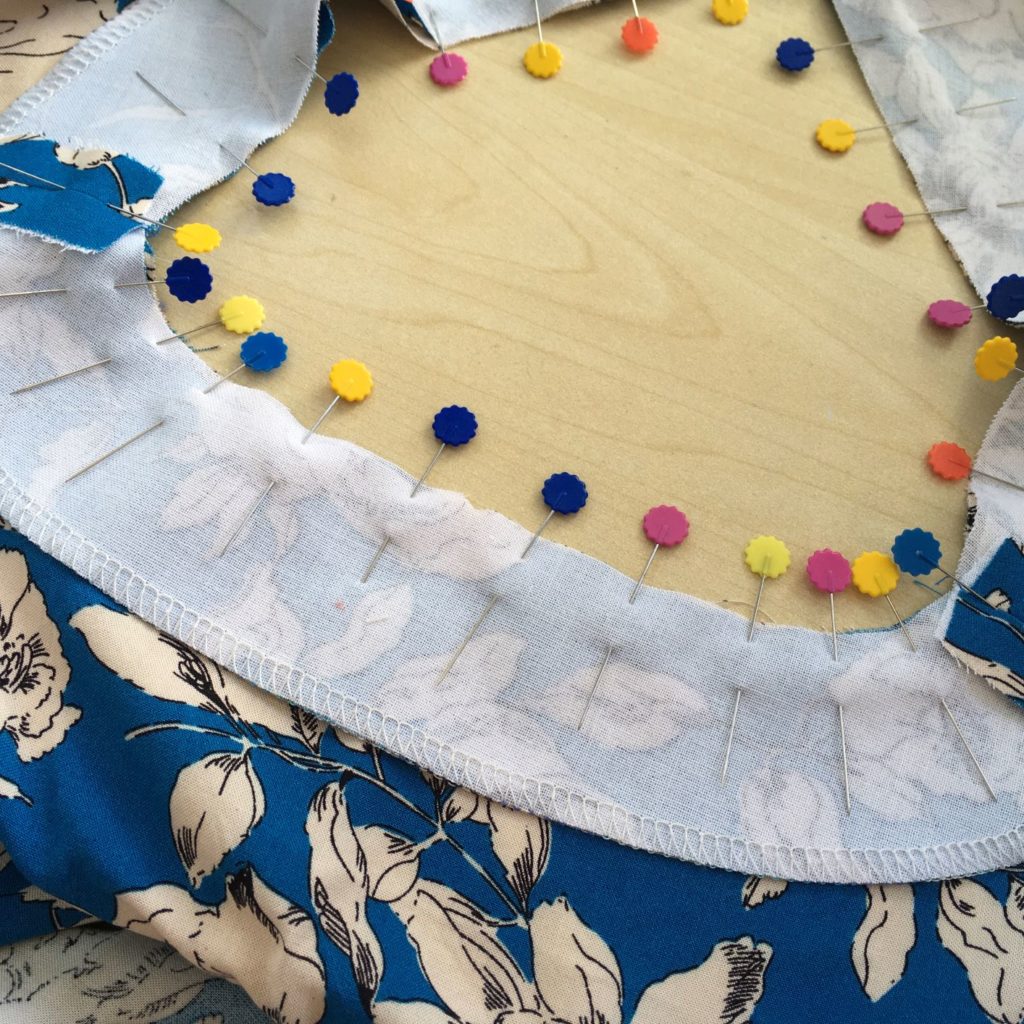
When it came to working on the front bodice and inserting the front panel, I highly recommend that you mark the circles as accurately as possible. I used tailors tacks but after I had stitched over them a few times I found them really hard to remove and ended with pulled threads in the fabric. Luckily they are only visible if you look closely but I would advise using a chalk pencil instead.
I also highly recommend ironing a small strip of light-weight fusible interfacing to the area where the stay-stitching is done. This was a great help with keeping the fabric stable and ensuring that my stitch lines were straight.
Usually, I read all the instructions first so that I understand the entire process but this time I found it useful to follow the instructions for the front panel one step at a time and not think about what the next steps were. It all came together beautifully apart from one little blip! Note to self: when sewing the side seams of the front panel, follow the instructions and leave the waist ties on the right side of the dress. This will save digging out the stitch unpicker!
Then, when it came to the final step of enclosing the front panel seams, I contemplated the machine stitching method but soon realised that the hand-stitch method was so much easier. And I love a bit of hand sewing anyway.
Adding the facing to the V-neck was something I took my time with. Drawing a line on the interfacing along the foldline of the front facing is useful as I find that lining up the drawn line with the centre front seam of the front bodice helps keep the facing straight. It is also useful to use lots of pins to prevent pieces moving out of alignment. The drawn line will help you know where the pivot point is when stitching too.
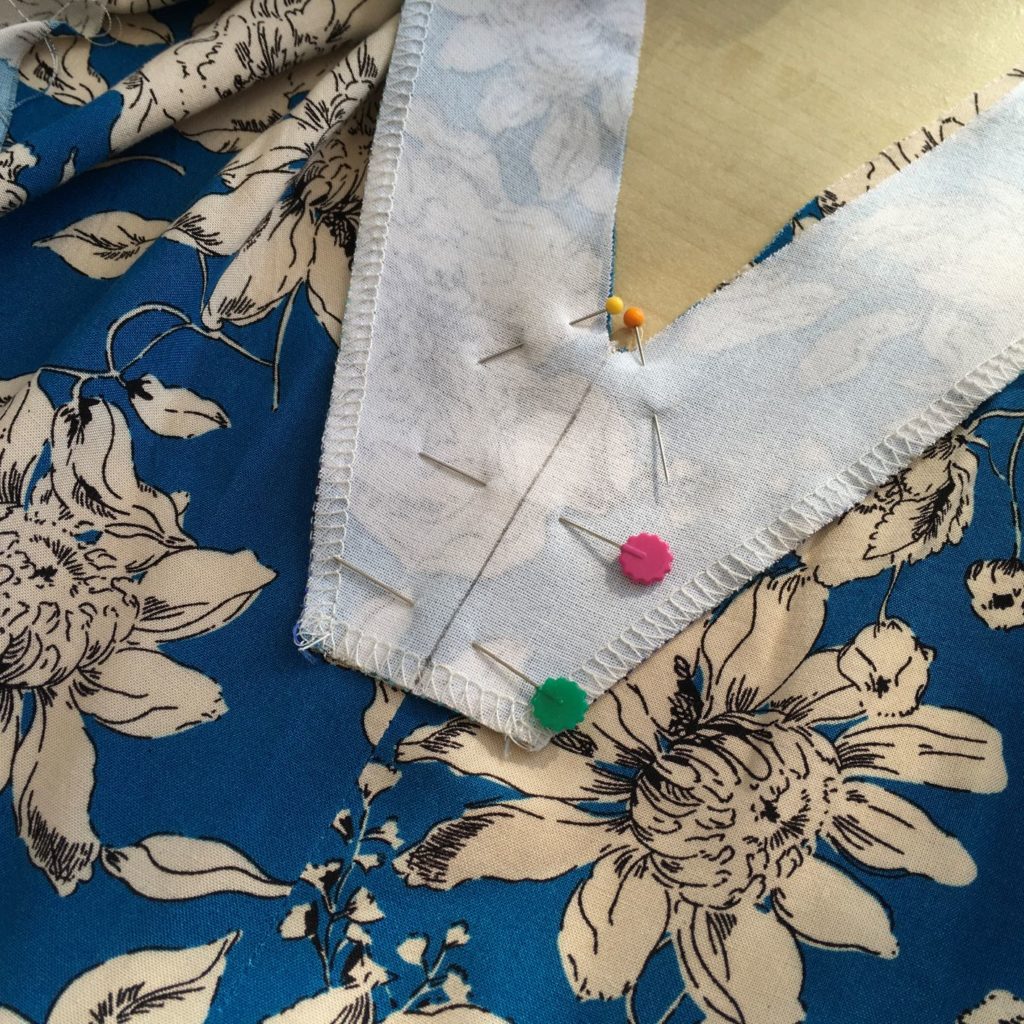
When pinning the back facing to the dress, I found it useful to mark the centre fold line on the neck edge of both the facing and dress back. These marks can be matched up to ensure that the back facing fits correctly.
One of the things I teach in my workshops is to have the facing on top when stitching. This is because the interfacing stops the facing from stretching out of shape. However, this isn’t possible when top stitching the facing in place. So, to prevent the dress fabric from moving as you sew, use lots of pins and reduce the pressure on the presser foot (if your model of sewing machine allows you to do so).
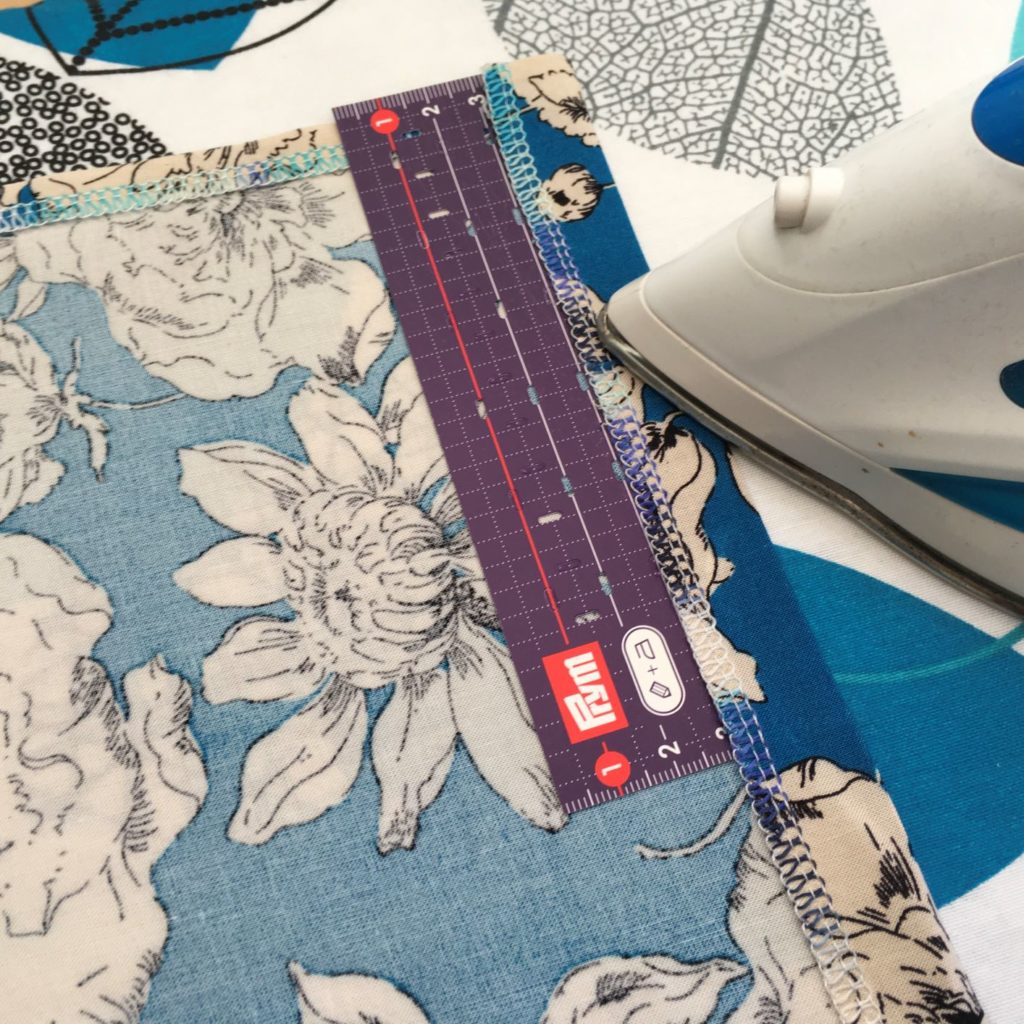
Having a straight hem made it really straight forward to sew and using the Prym ironing ruler made it easy to get straight lines when pressing the folds. This was a new technique to me and oh how I wish I had discovered this ruler a long time ago!
Hand-stitching is always my preferred method of hemming and I love nothing better than to add the finishing touches to a new garment whilst sitting in front of the TV.
I am absolutely in love with my Charlie caftan and cannot wait for the warmer weather. However, I have managed to wear it a couple of times layered up with a black Tilly and the Buttons Freya top, black cardigan and boots.
If you are thinking of making the dress, one thing to bear in mind is that the V-neck does come quite low at the front. This is something that I am a little self conscious about and I very often wear a camisole underneath a garment for that reason.

Front view showing front panel 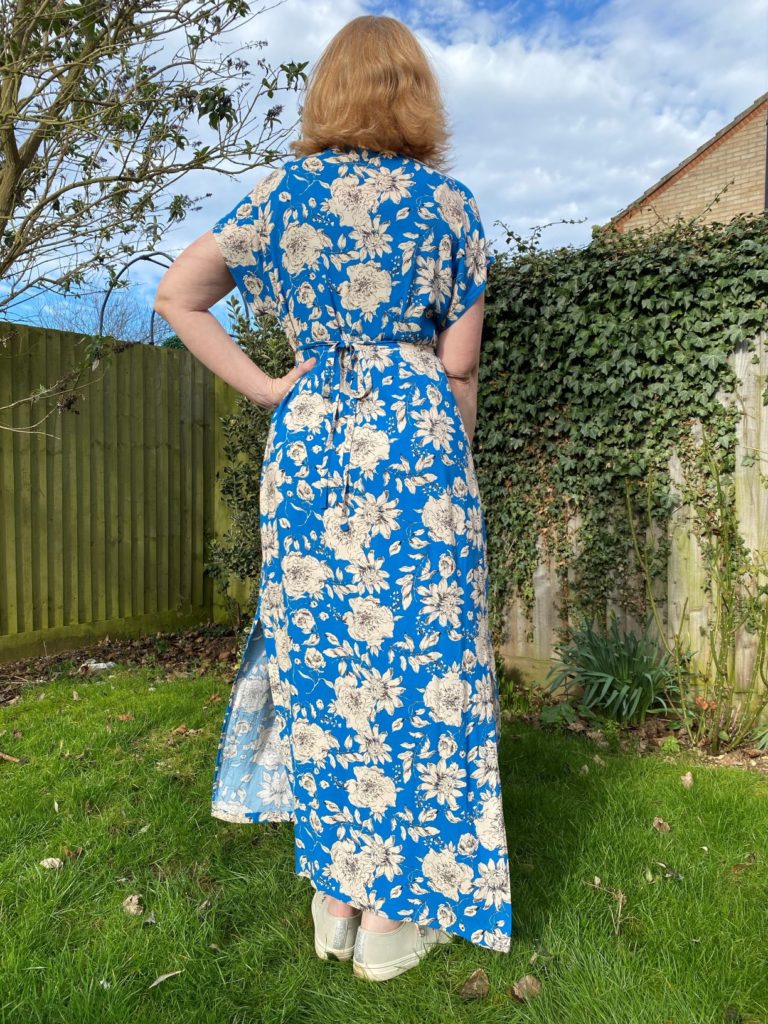
Back view showing tie
I just couldn’t wait to make another one and there are a couple alterations that I made to my second dress.
The first was that after wearing my Charlie caftan for the first time I did discover that it was too long and I kept tripping on the front hem. So, I ended up removing the extra 1” hem that I had originally added. Although this was a little frustrating, I would rather make the dress too long to start with and I did end up with another enjoyable evening of hand sewing!
Secondly, I did not need to worry about grading out to a size 14 at the hips as there is so much room in the skirt that a size 10 is absolutely fine.
So, bearing this in mind, I could not wait to make a second one. But me being me, I gave myself the challenge of trying it out in a jersey fabric and I’m so pleased that I did! I used our Anne viscose jersey fabric because it is soft and drapes well, but it also has a large pattern on it that the Charlie caftan shows off beautifully.
The only change I made for this dress was to use a stretch knit interfacing for the front and back facings, as well as for the front panel.
Again, I have managed to wear this dress a few times this winter, layered up with tights, boots, a Tilly and the Buttons Freya top and a cardigan. It is so comfortable to wear and I have no doubt that I will be making plenty more.

Front view of Charlie caftan in viscose jersey 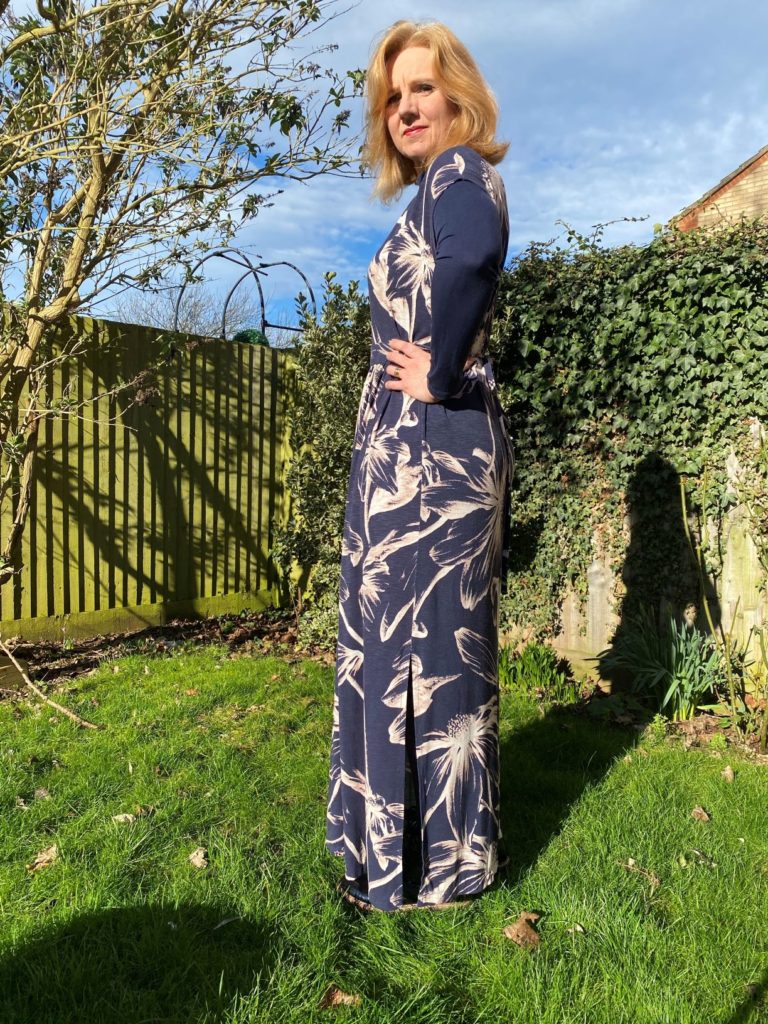
Side view of dress in viscose jersey
So in summary, if you are looking for a pattern that is easy to sew, comfortable to wear and extremely versatile, I cannot recommend the Charlie caftan highly enough.
Happy sewing,
Leanne
(Find out more about Leanne, the owner of Gather ‘N’ Sew)