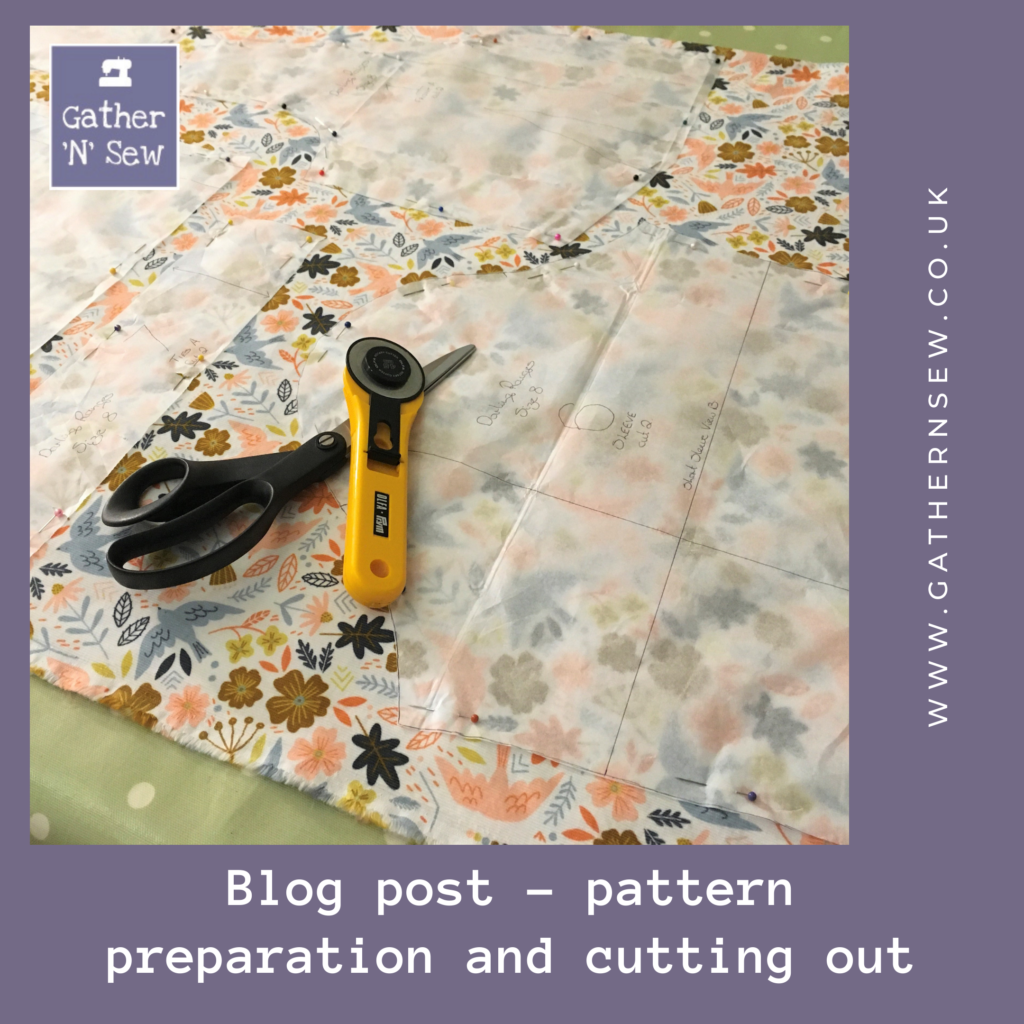
Once you have mastered how to grade between pattern sizes, the next step is cutting out. This step can be a little scary but taking the time to prepare your pattern and fabric correctly will reduce stress levels. It is tedious when all you want to do is get sewing, but it will be worth it, I promise!
Preparing your fabric
The first step is the most important and that is to pre-wash your fabric. Any fabric that contains natural fibres such as cotton, viscose, linen or Tencel™ may shrink slightly when washed and so pre-washing will prevent garments from no longer fitting or becoming distorted after their first wash. Not an ideal outcome when you have spent a lot of time and money making the garment of your dreams!
Top Tip: I make a habit of placing any new fabrics in the wash basket as soon as I get home. I then wash it with clothing of a similar type and colour the way I normally would. If you are worried about fraying you can overlock or zigzag the raw edges of the fabric first. Generally, I don’t find that I have a problem apart from needing to untangle a thread or two from the rest of my washing. Once the fabric is dry, I fold it neatly and add it to my stash knowing that it is ready for me when I get chance to sew. I don’t worry about ironing it at this stage.
Washing it immediately means that I don’t need to try and remember whether a fabric has been washed or not. I am fairly sure that prior to implementing this process I washed the same fabric a few times! It also means that you don’t need to wait before you can start cutting out.
Preparing your pattern
To make things easier and to avoid mistakes, it is handy to mark any useful information in your pattern instruction booklet. I use a highlighter to mark the size I am making, as well as the view number/letter, together with the numbers/letters of the pattern pieces that I need. It is also handy to mark the relevant pattern layout diagram according to the size being made and the width of the fabric.
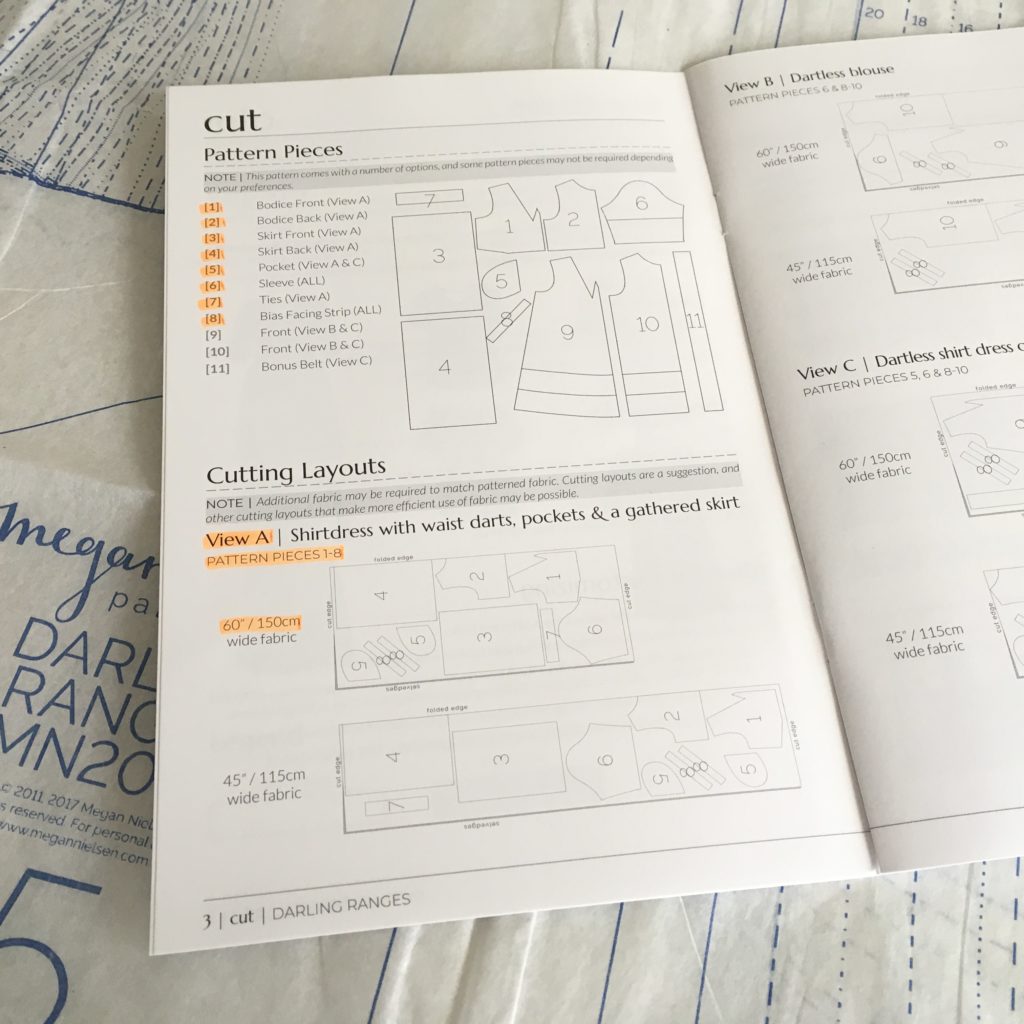
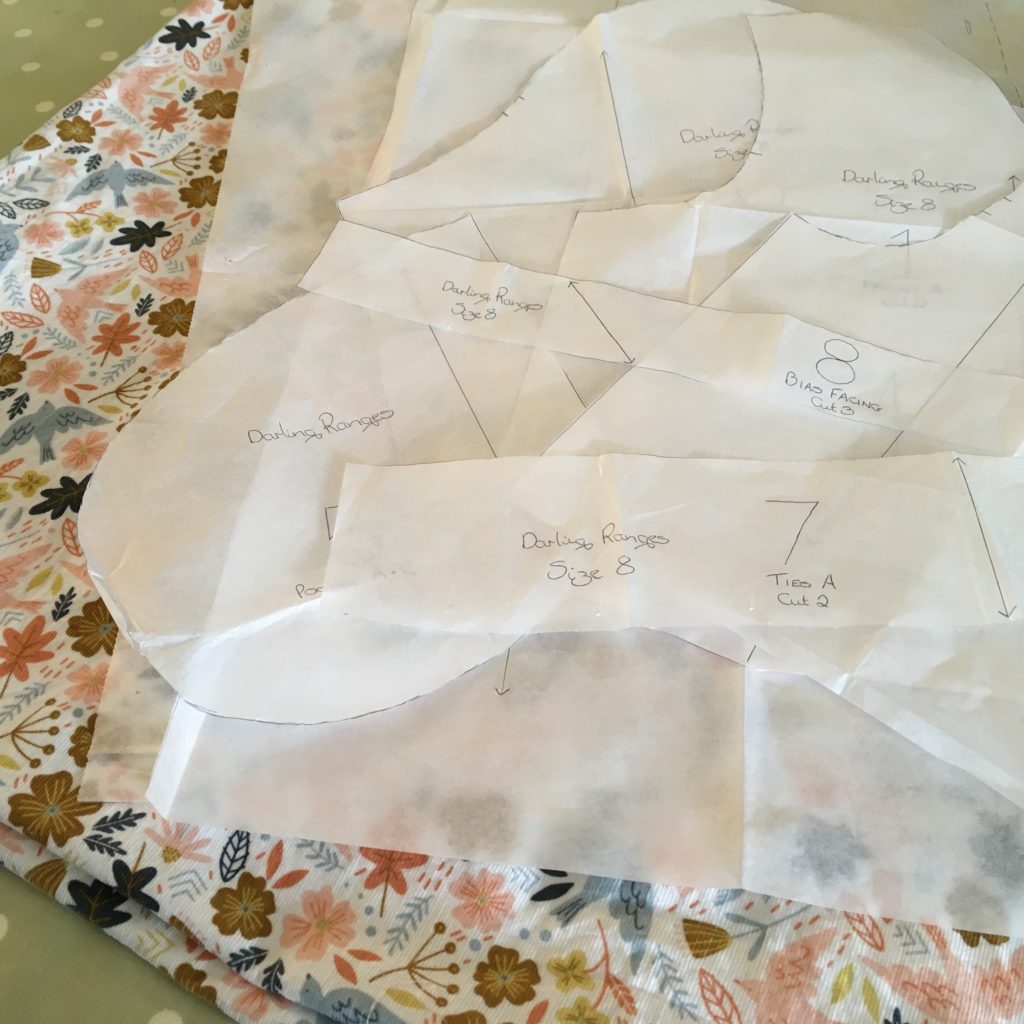
Most patterns are multi-sized and at this point using a highlighter or coloured pen to draw along the relevant cutting line on each pattern piece makes it easy to distinguish your size from the others. Include any grading between sizes and all essential pattern markings such as notches, darts, grainline arrows, foldlines, etc.
I have an oilcloth tablecloth that I use to protect my dining room table, especially when I am drawing on patterns made from tissue paper.
At this point you could cut out the paper pattern pieces according to the size you are making. However, as most patterns are multi-sized, if you would like to keep all the sizes intact, cut along the outermost lines and when you pin the pattern pieces to the fabric you can fold the pattern inwards along the required pattern lines.
But I find tracing the pattern pieces to be the most efficient way and you will more than likely need to do this if using a pattern from a book or magazine.
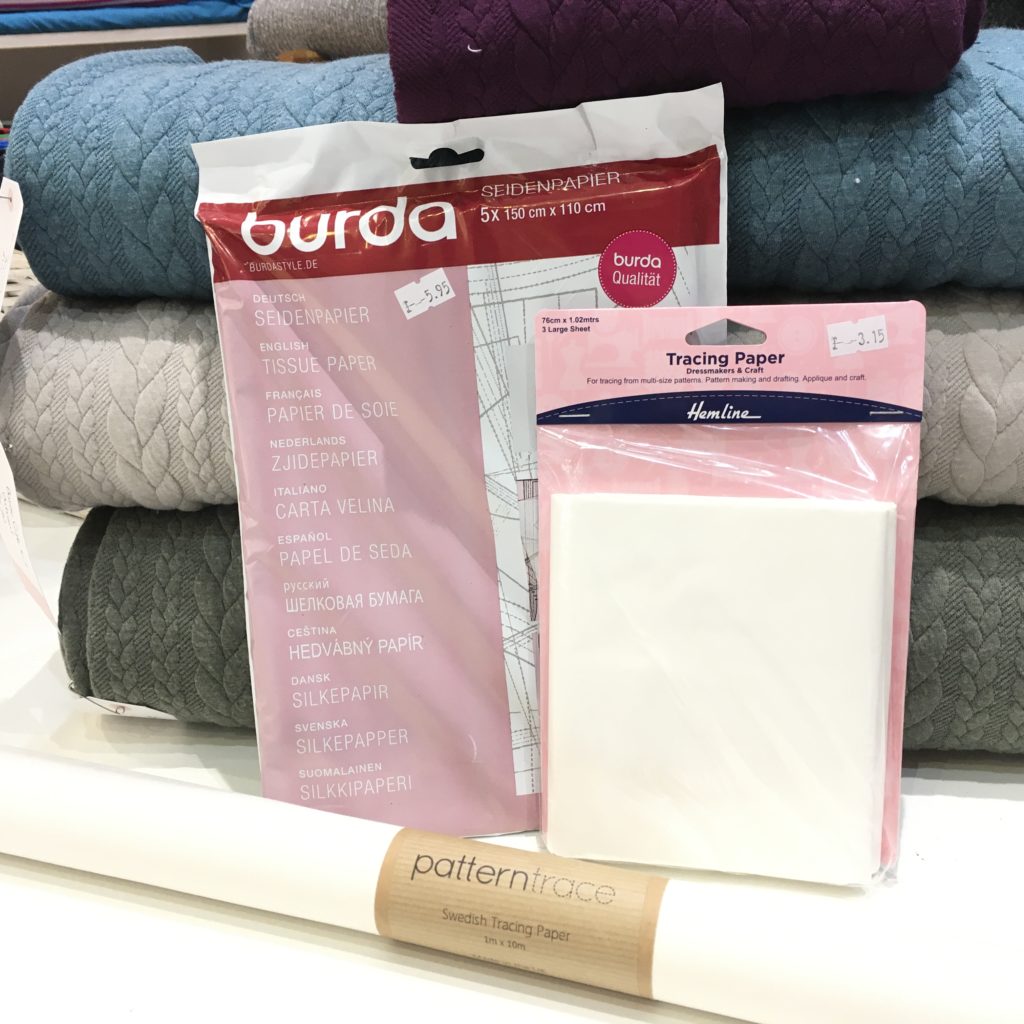
What you use trace your patterns onto is down to personal choice. There are a number of options, all of which work well:
Our Burda tissue paper comes in packs with five large sheets. It is easy to see the lines through it and is not bulky. However, it can be prone to tearing. This is what I have used for the purpose of this blog post.
The pack of Hemline tracing paper contains three large sheets of paper and is heavier than tissue paper. It is strong and markings can easily be seen through it.
Swedish tracing paper comes in rolls of 10m. It feels a little like interfacing and it is easy to use. One of its main benefits is that it can be sewn up to make a toile (sample garment) and then unpicked so that the pieces can be used as a pattern for cutting out.
Or as an alternative to the above you could use large sheets of printer paper or greaseproof paper.
Before you start tracing your patterns, make sure that all creases have been removed from the pattern pieces and tracing paper.
Top Tip: stubborn creases can be removed with a cool iron.
Lay your tracing paper over the pattern and keep it in place with pattern weights. I like to use our Prym Love pattern weights (melon, kiwi and orange) that also double up as a handy pin cushion. However, cans of food, staplers or anything to hand also does the trick!
Top Tip: align the straight edge(s) of the tracing paper with any straight edges on the pattern pieces. This saves time when drawing and cutting out.

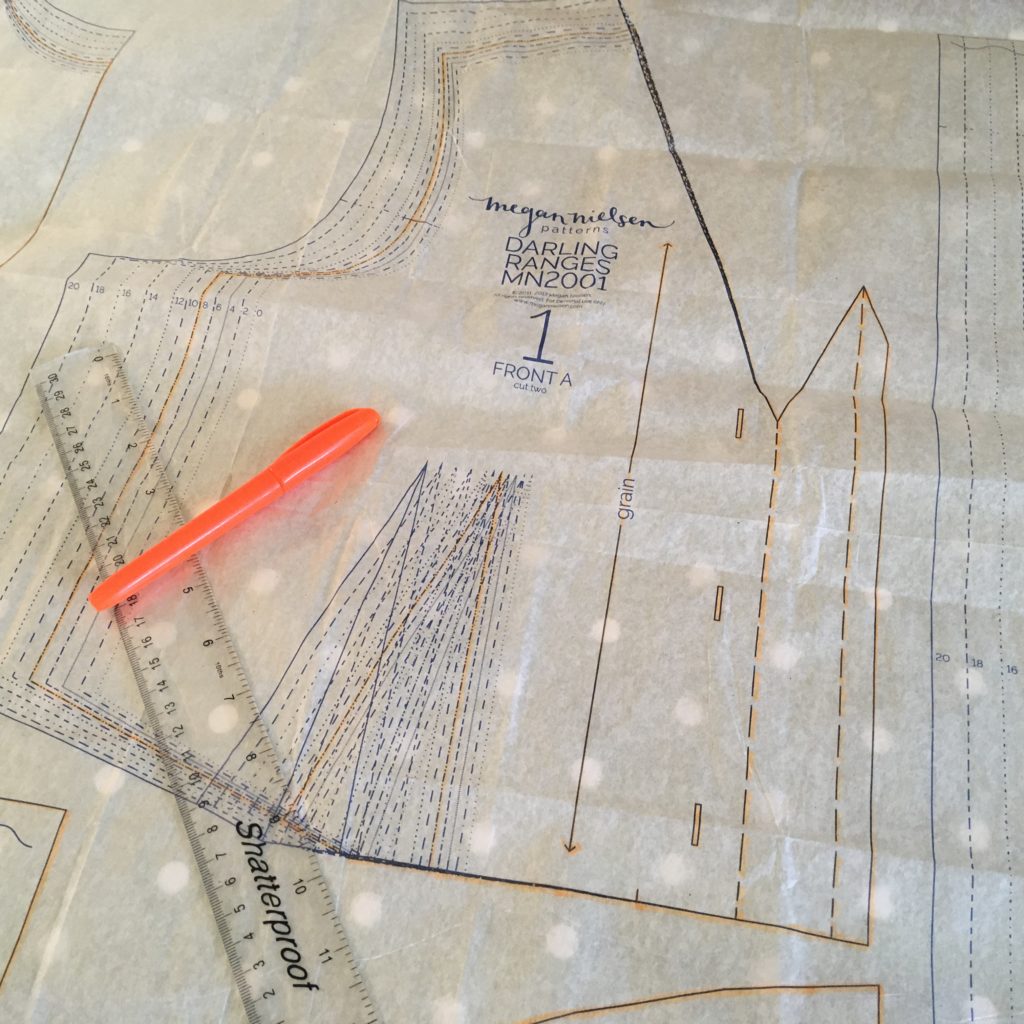
Trace the pattern pieces with a pen or pencil, making sure that you add all markings – notches, darts, grainlines, foldlines, buttonholes, etc.
An alternative to tracing would be to place the pattern on top of the tracing paper and use a tracing wheel and dressmaker’s carbon to transfer the details. Or you could also use this method to transfer all the pattern details directly onto the fabric without using tracing paper.

Check that you have labelled all the pieces with the pattern name, size, pattern piece number/letter, pattern piece name and cutting instructions.
Cut out all the pieces neatly.
Cutting out
Now you are ready to cut out your fabric and the first step is to give your fabric a good press as any creases will distort the pattern pieces.
Next check the fabric layout instructions in the pattern booklet and fold your fabric accordingly. Usually, the fabric is folded in half with the selvedges together.
It is up to you whether the fabric is folded with right sides together or wrong sides together. The only exception is when you are making a garment that is asymmetrical and then it is very important to follow the pattern instructions.
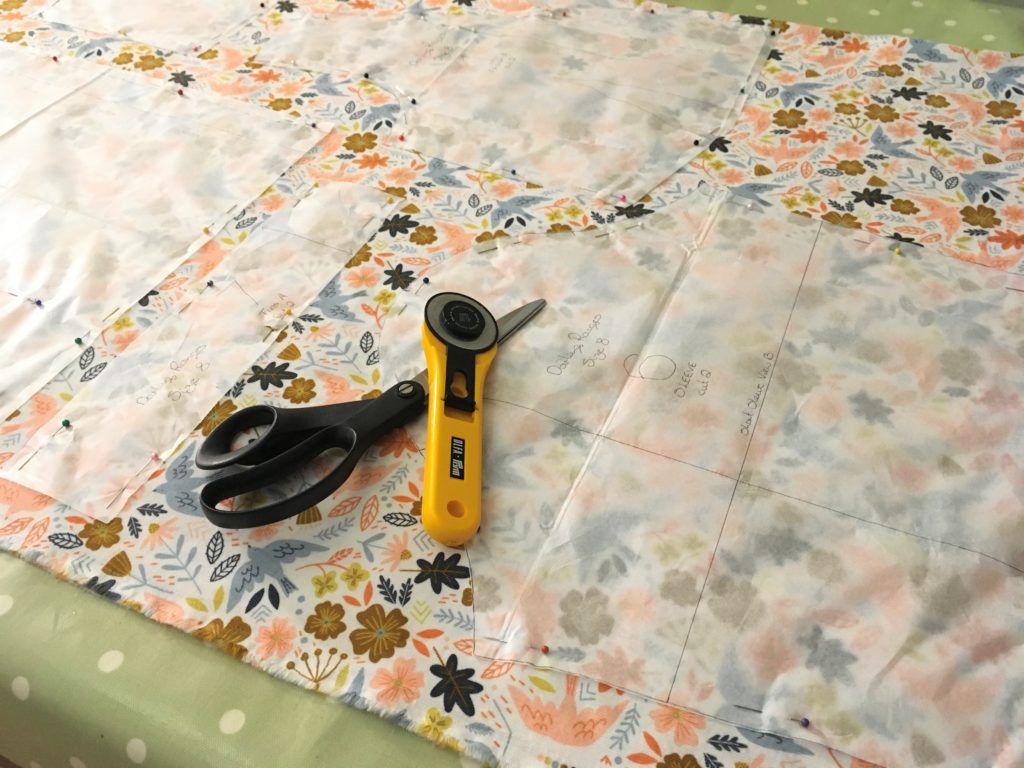
Lay the pattern pieces on the fabric according to the cutting layout instructions and check that they all fit onto it. All pieces need to be placed face up unless otherwise instructed.

When you are sure that everything is in the correct place, you are ready to pin the pattern pieces to the fabric or use pattern weights. Using good quality, sharp pins is really important. I have used our Hemline long plastic head pins.
The first step is to check that the foldline edges are placed exactly along the folded edges of the fabric. Next, ensure that the grainlines are parallel to the selvedges by measuring the distance to the selvedge at the top and bottom of the grainline.
Top Tip: if you pin one end of the grainline first, you can pivot the pattern piece until the other end of the grainline is the same distance away from the selvedge.

Once you have pinned the grainlines and foldlines, smooth out the pattern pieces and pin them in place.
Top Tip: place a pin in each corner and then fill in all the gaps by pinning close to the edge of the pattern pieces with the pins parallel to the edge. The more pins you use, the more accurate your cutting out will be.

Finally, take a deep breath and cut out your pieces using scissors or a rotary cutter.
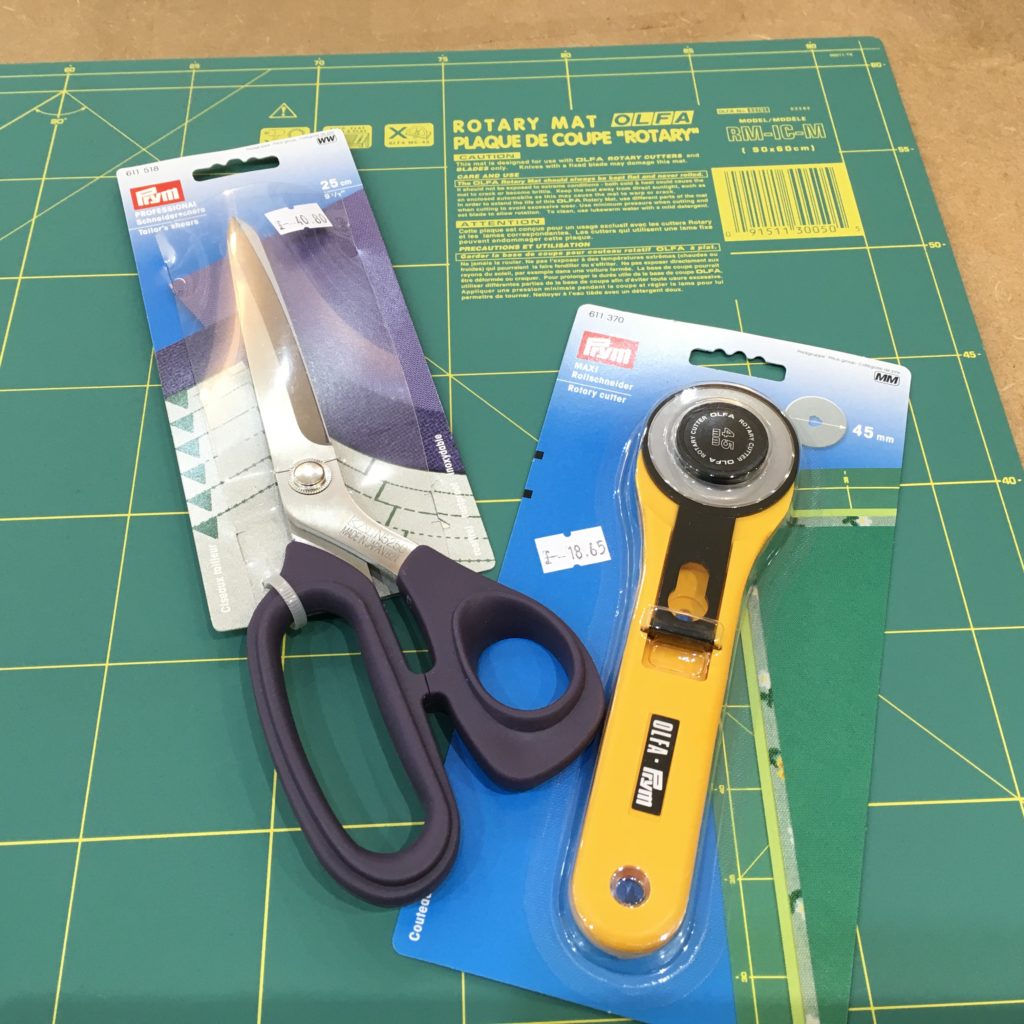
Having a good quality pair of dressmaking scissors is vital. Scissors with long blades will give you neater edges and be more accurate too. Make sure that your scissors are nice and sharp and try to lift the fabric off the table as little as possible.
If you are using a rotary cutter you will also need a large cutting mat or two. This method can be more accurate than scissors but like everything it is down to personal preference. You will need to use a lot of pressure on the rotary cutter to cut through all the layers of fabric.
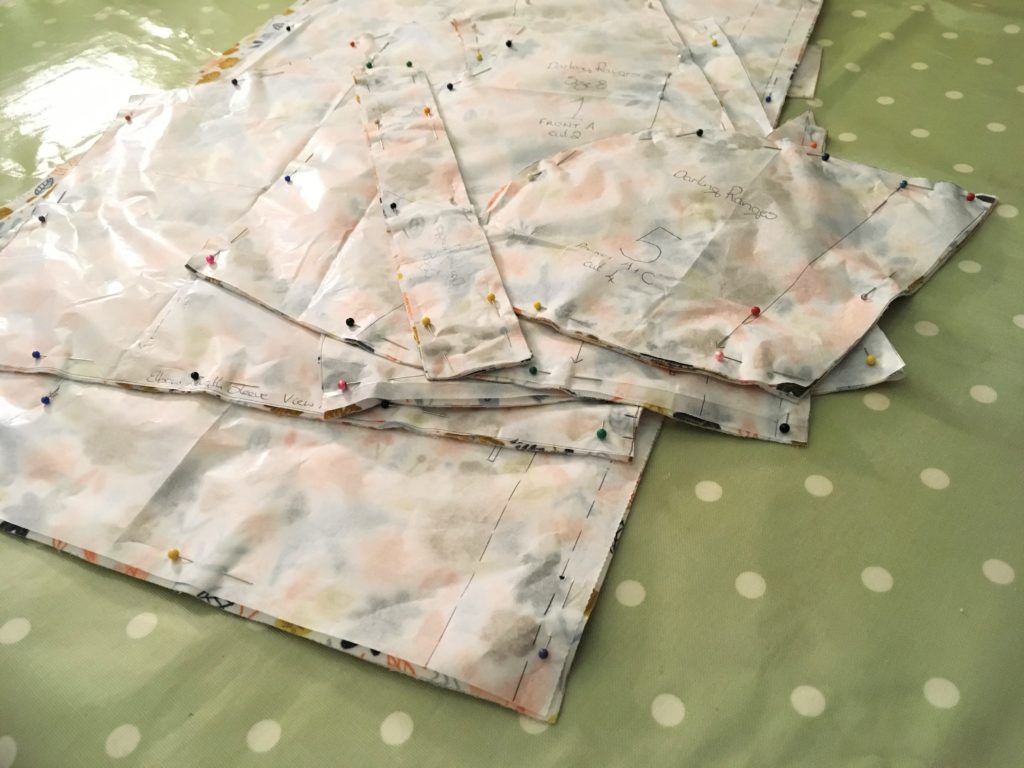
Once you have cut out your fabric, keep the pattern pinned to the different pieces. That way you will know which piece is which and I only remove the pattern when I am ready to sew that particular piece.
Top Tip: I like to have batch cutting out sessions where I cut out three or more garments at one time. This means that when I have an opportunity to sew, I always have something ready and I am more likely to get some of my projects made.
You are now ready for marking your fabrics and as there are a number of methods for doing that I will be covering that in another blog post.
I hope you have found this useful and would love to hear your comments.
Enjoy your sewing and until next time,
Leanne
Note: for the purpose of this blog post I used the Darling Ranges dress pattern from Megan Nielsen, our Eliana babycord fabric and our Burda tracing paper.
Leanne de Lima Araujo is the owner of Gather ‘N’ Sew where she teaches popular sewing workshops.