Hello Sewists! Thank you for joining me over on the Gather’N’Sew blog!
Stacie here, from @Notions_of_a_dressmaker with my latest blog post featuring the Mulberry Blooms Cotton Lawn from Lady McElroy.
When one of your favourite fabric shops is over 200 miles away you have to take every opportunity you can to stop by. So when I took a recent visit to see my mum in Lincolnshire for the first time since lockdown began, I persuaded her to take a walk into town with me, so I could drop in to Gather ‘N’ Sew.
I haven’t been doing much ‘in person’ shopping since lockdown first began, but it was really nice to go into Gather ‘N’ Sew to see and actually feel some fabric! Leanne has the shop set out really nicely now having opened up the back workshop area and rearranged the entrance way to make a lovely roomy space, perfect for keeping a safe distance whilst you shop.

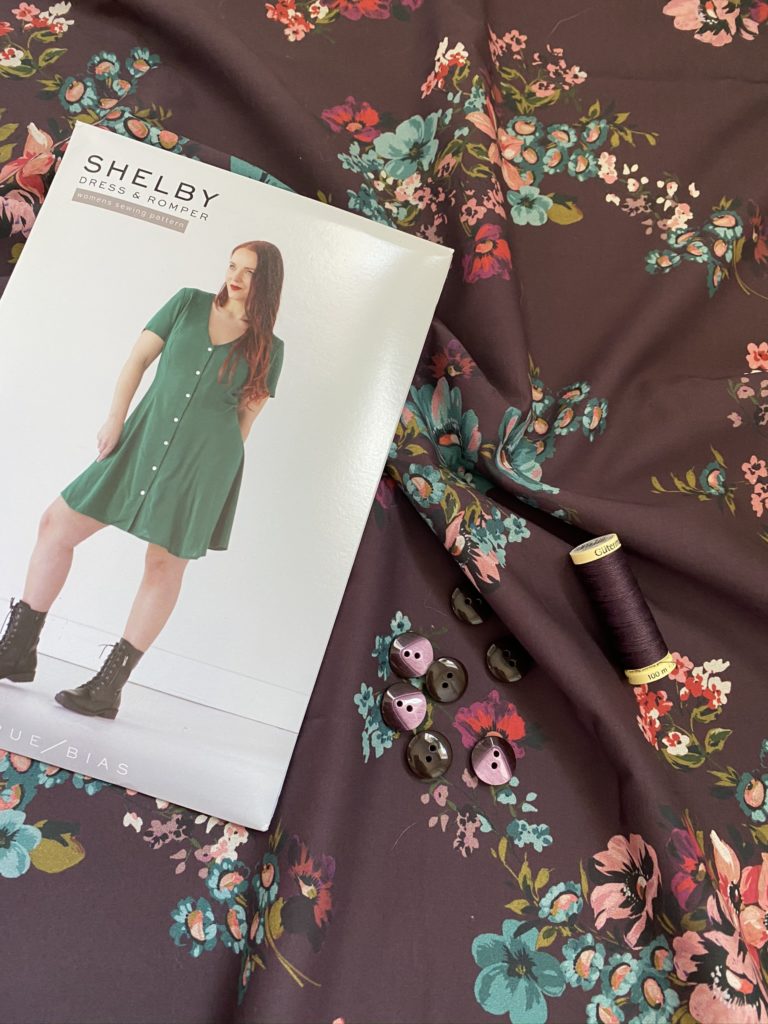
I’d been thinking about the True Bias Shelby dress for a few days, maybe even longer actually, since seeing Liz (@x_sewingpunk_x) make one on the Sewing Bee! The style really takes me back to some of the little dresses I used to wear when I was girl! This was, therefore the first pattern I picked up in store and as I did, I turned round to the fabric on the wall behind me and my eye was caught immediately by the Mulberry Blooms! I knew it was a Lady McElroy fabric the moment I saw it, as I am always so drawn to their beautiful prints!
Leanne helped me match the perfect shade of thread and some pretty purple buttons, meaning I was able to get absolutely everything I needed for this project in store. I love being able to do this, as it means you can get home and crack right on sewing. There is nothing worse than getting home and realising you don’t have the right colour thread, or the right size buttons!
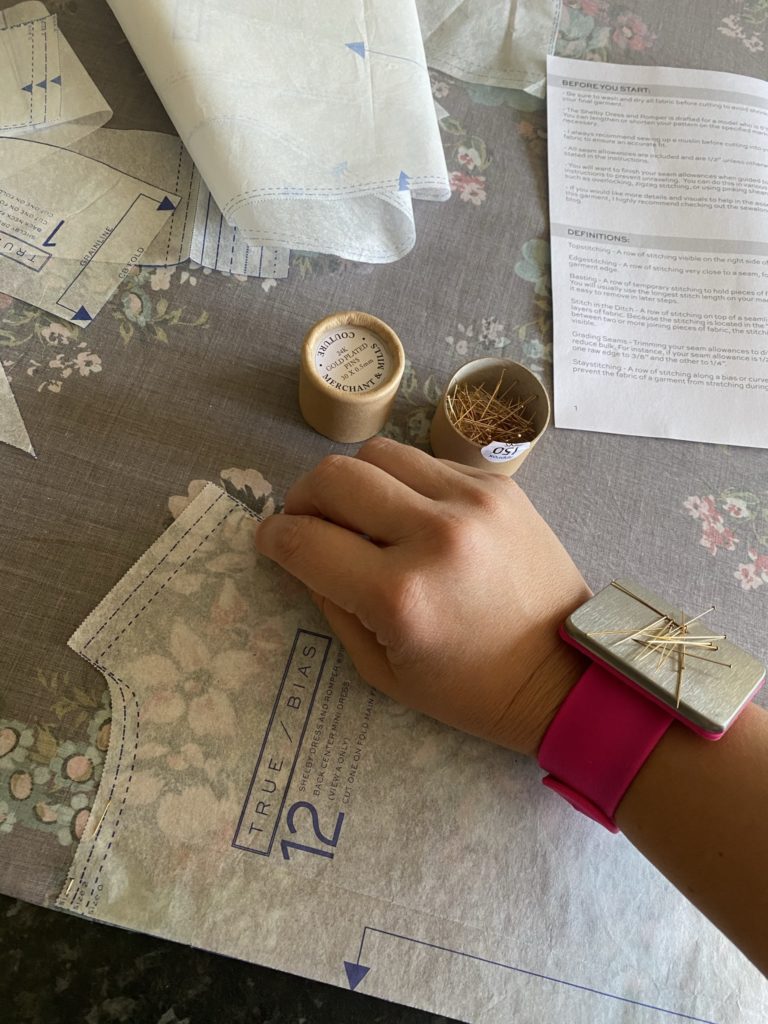
It’s been a long time since I’ve used a tissue paper pattern, but one thing I recommend doing is ironing the pattern pieces first. It’s surprising how much accuracy you can lose from wrinkles and creases in the paper pattern. I tend to do this whilst I have the ironing board out ironing my fabric. I did really enjoy cutting this pattern out. The fabric, whilst a beautiful drapey cotton lawn has a lovely crispness to it, even after a wash.
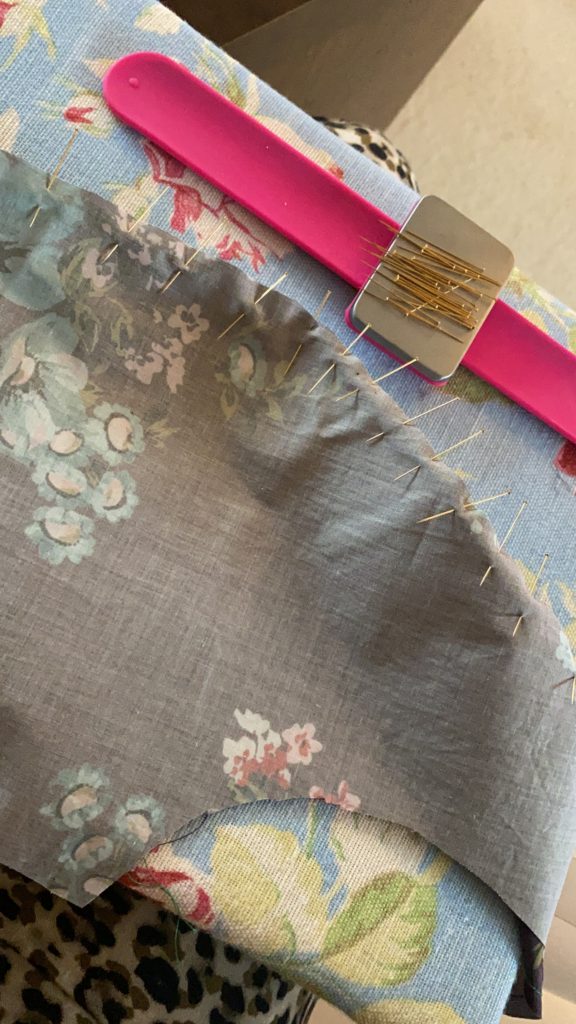
The waist ties and the facing mean you do have a few long straight strips to cut out. When cutting long strips like this I always make sure I use lots of pins all the way along and cut really slowly otherwise the fabric can slip and you end up with a piece of fabric that is far too skinny!
Speaking of pins, this fabric is quite fine, so I used my absolute best fine pins to ensure I didn’t leave any snags or holes!
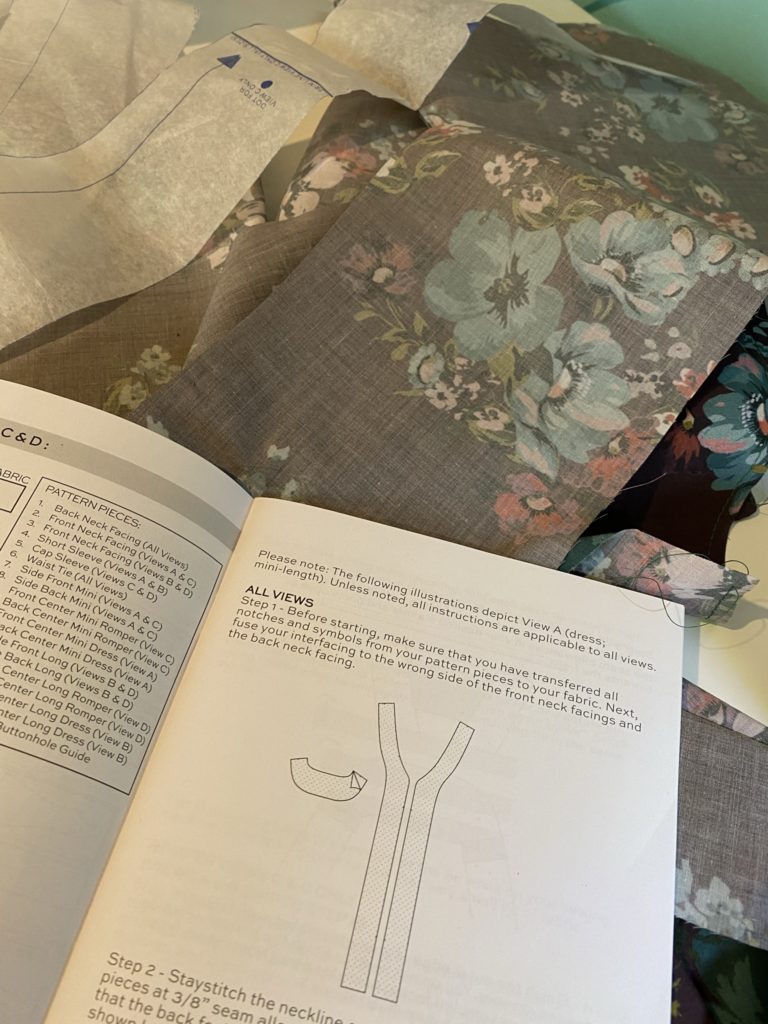
Another thing that is important with such a lightweight fabric, is to use an equally lightweight interfacing, which you can buy by the metre from Gather ’N’ Sew. This is the kind of thing I will always stock up on when I’m buying fabric.
I’ve not had much experience with True Bias patterns, but I really liked these instructions. The steps were really clear and I love that they tell you when to finish seams as you go through. So many pattern companies miss this and I hate sewing seams together then realising I’ve missed the opportunity to finish my seams!
One defining feature of the Shelby dress is the princess seams. If you haven’t come across this before, it’s an alternative way of shaping a bodice, instead of adding darts to the bust, the front is sewn together in three or four pieces with a curved seam over the bust. Pining a straight piece of fabric to a curved piece of fabric is not an easy task but it is important to remember that you’re creating a 3-D object, not a flat piece of fabric. I find the easiest way to do this is to hold the fabric up off the table and use as many pins as you can!
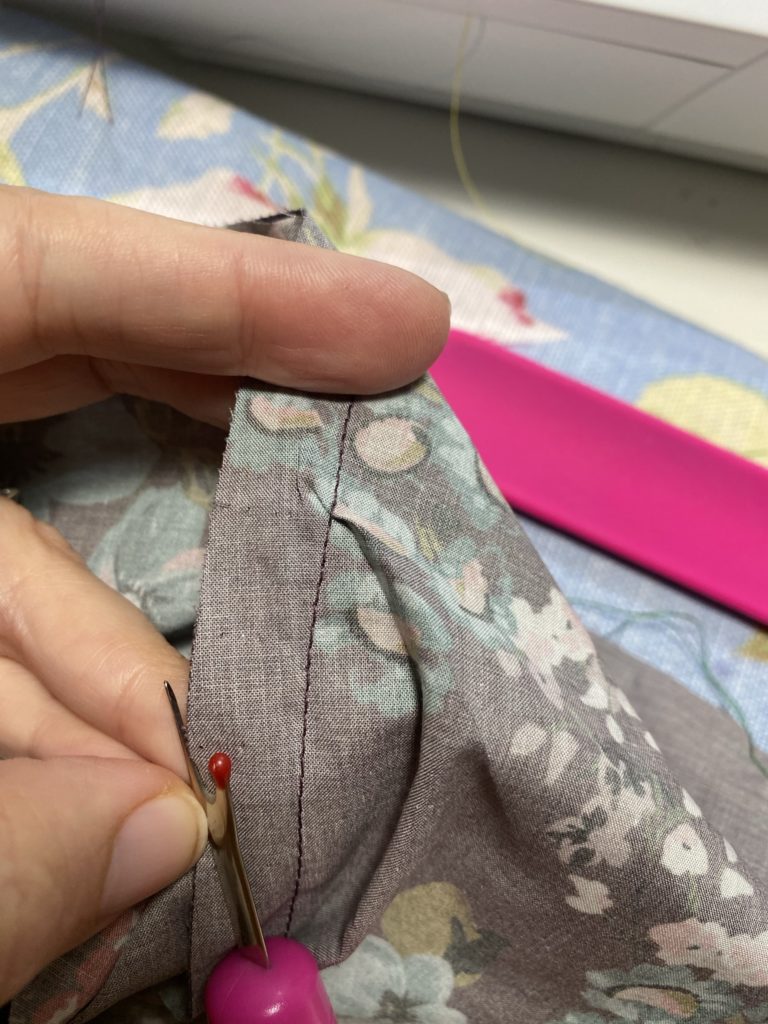
Sadly, I did manage to catch a little pinch in my fabric close to the apex of the princess seam, but it was easy to just unpick an inch or two and ease the seam around before resewing. I am please to report that there was no damage to the fabric when doing this!
Obviously, this isn’t a quick sew because your front and back bodices are made up of three or four pieces but it’s really satisfying to watch it all come together and it’s not a particularly difficult sew.
The sleeves don’t take a lot of gathering at all, just a bit of ease, so I just did the one row of gathering stitches within the seam allowance. I prefer this as it means I don’t have to unpick any basting stitches.
I managed to sew this dress up over one weekend, and finished it on a lovely sunny Autumnal Sunday afternoon, so it was on with the boots and a chunky scarf and out for a lovely photoshoot walk with the family!


Thank you to Leanne at Gather ‘N’ Sew for asking me to feature on their blog! Do let me know if you enjoyed reading, and of course share your own makes with us on Instagram using the hashtags #gnsimadethis and #gathernsew. You can also find me on Instagram as @Notions_of_a_dressmaker or check out my Notions of a Dressmaker website. Please do pop by and say hi!
Until next time!
Stacie